Renaming Layers
This page explains how layer naming works in Maptaskr Power Maps and provides step-by-step instructions for customizing layer names to improve organization and user experience.
Understanding Layer Name Structure
When layers are added to a map, they consist of three distinct naming components that work together to identify and display your data:
- Layer Name: The primary identifier for the data source (e.g., "Demographics Data")
- Sublayer Name: Specific dataset or feature class within the layer (e.g., "Population by Age")
- Legend Name: Display name shown in the map legend and user interface (e.g., "Population Demographics")
Understanding this hierarchy helps you organize and present your map data effectively to end users.
Methods for Renaming Layers
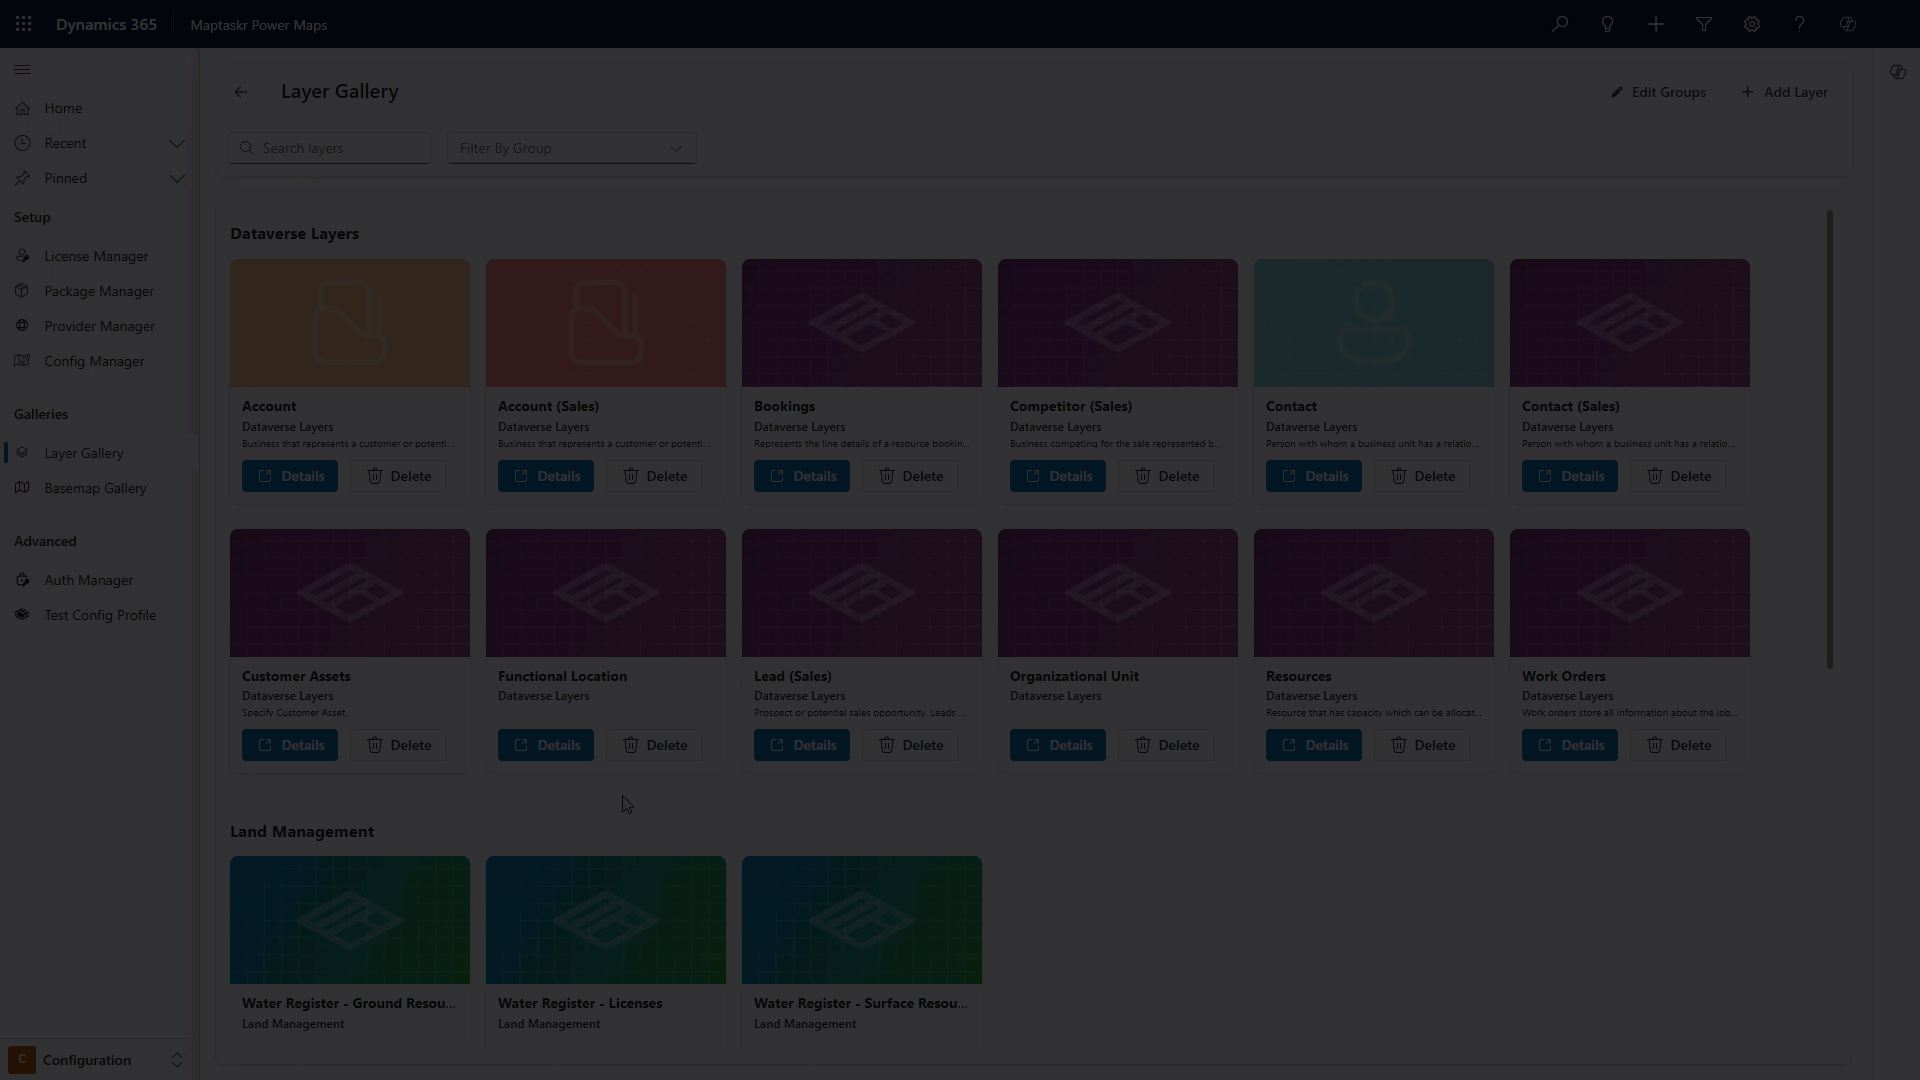
1. During Layer Gallery Configuration
When adding layers to your gallery, you can customize the display names:
-
Navigate to the Layer Gallery configuration
-
Select the layer you want to rename
-
Update the display name in the layer properties
-
Save your changes
2. Through Layer Styling Interface
Modify legend names through the layer styling interface:
-
Open the layer styling panel
-
Locate the legend name field
-
Enter your preferred display name
-
Apply the changes to update the map

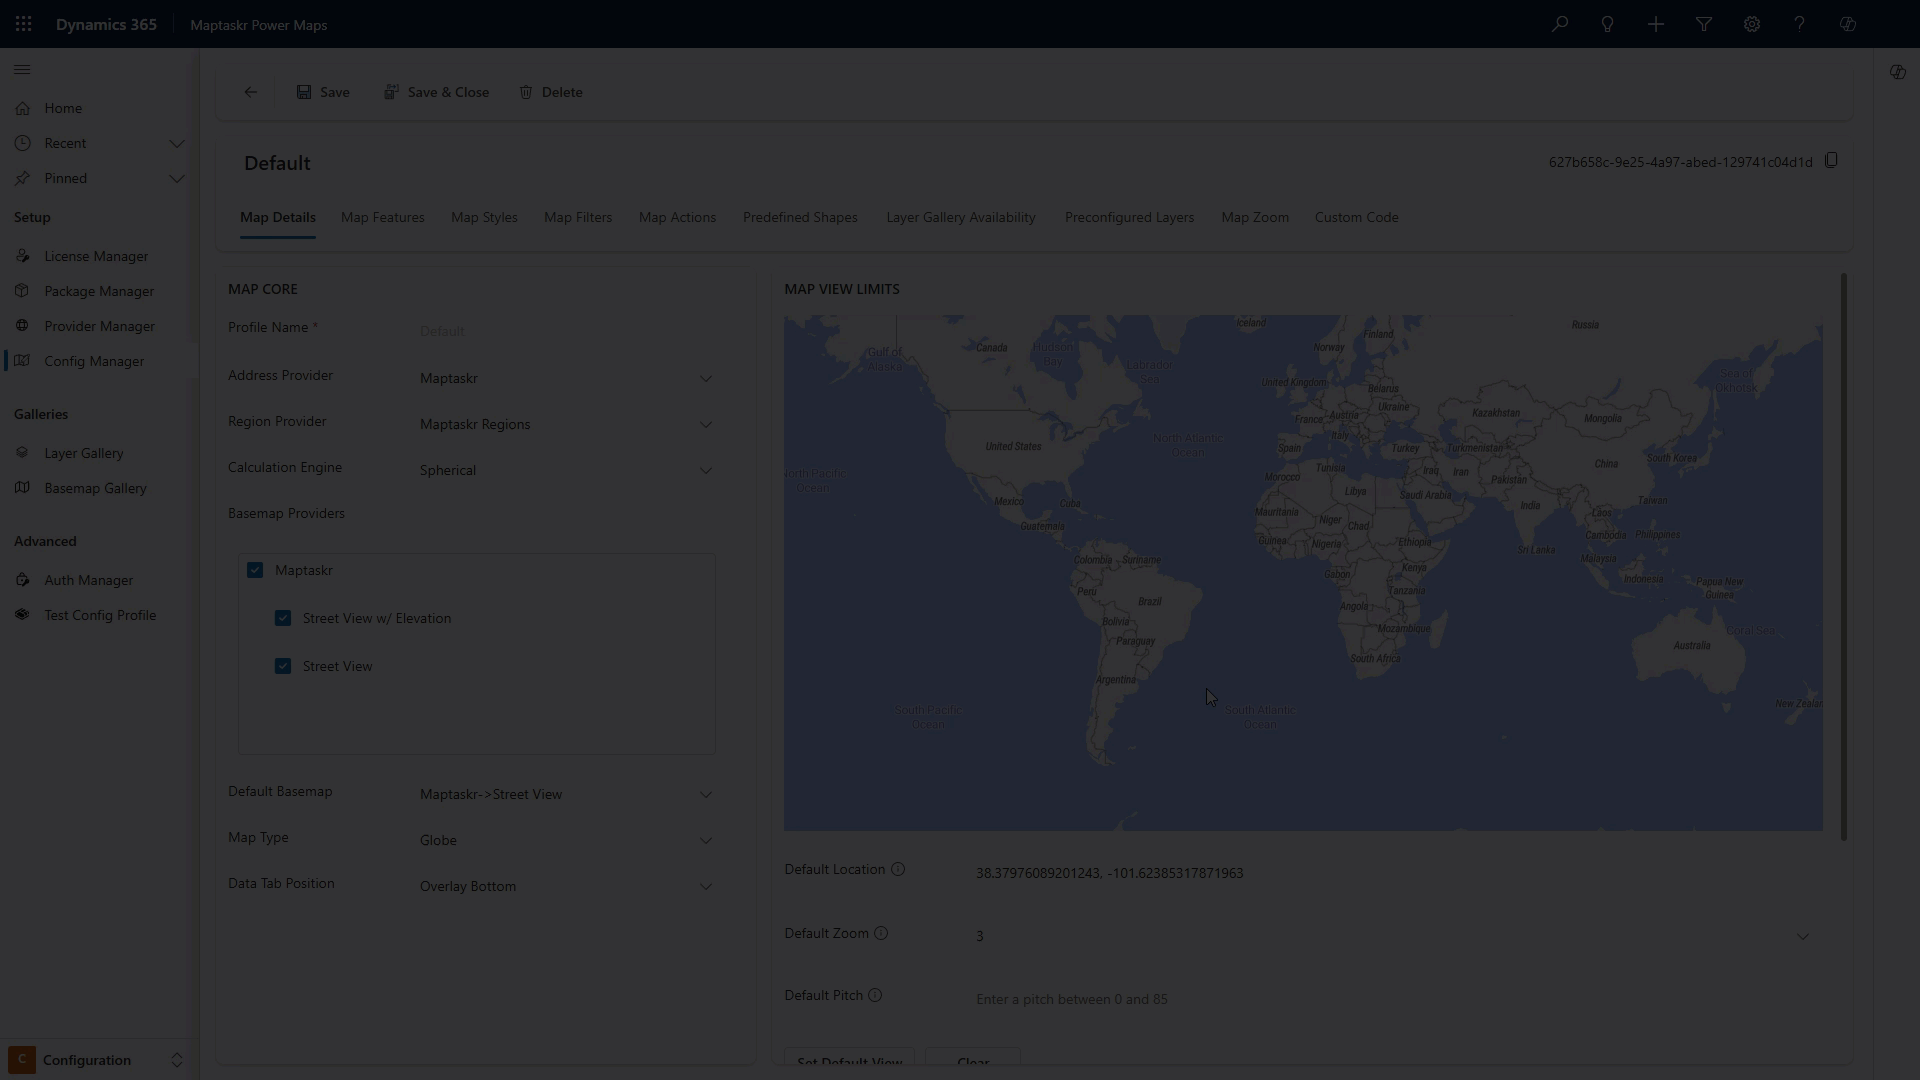
3. In Configuration Profiles
Within preloaded layers, each layer receives an instance name:
-
Access your configuration profiles
-
Select the Preloaded Layers tab
-
Select the preloaded layer set
-
Modify the instance name (this becomes the name of the layer at the time of adding it as preloaded)
-
Save the configuration profile