Using a GIS Layer as Geometry
This tutorial will guide you through integrating an ArcGIS layer as geometry in your dashboard map and linking those features to Dataverse records for seamless editing. You’ll learn how to select a geometry feature from an ArcGIS layer and use a layer action to open the corresponding Dataverse record.
Additionally, you’ll see how to enable bidirectional linking: when you open a record-level map from Dataverse, the ArcGIS layer can be filtered to display only the feature related to the selected Dataverse record. This ensures a focused view and direct access to relevant spatial data.
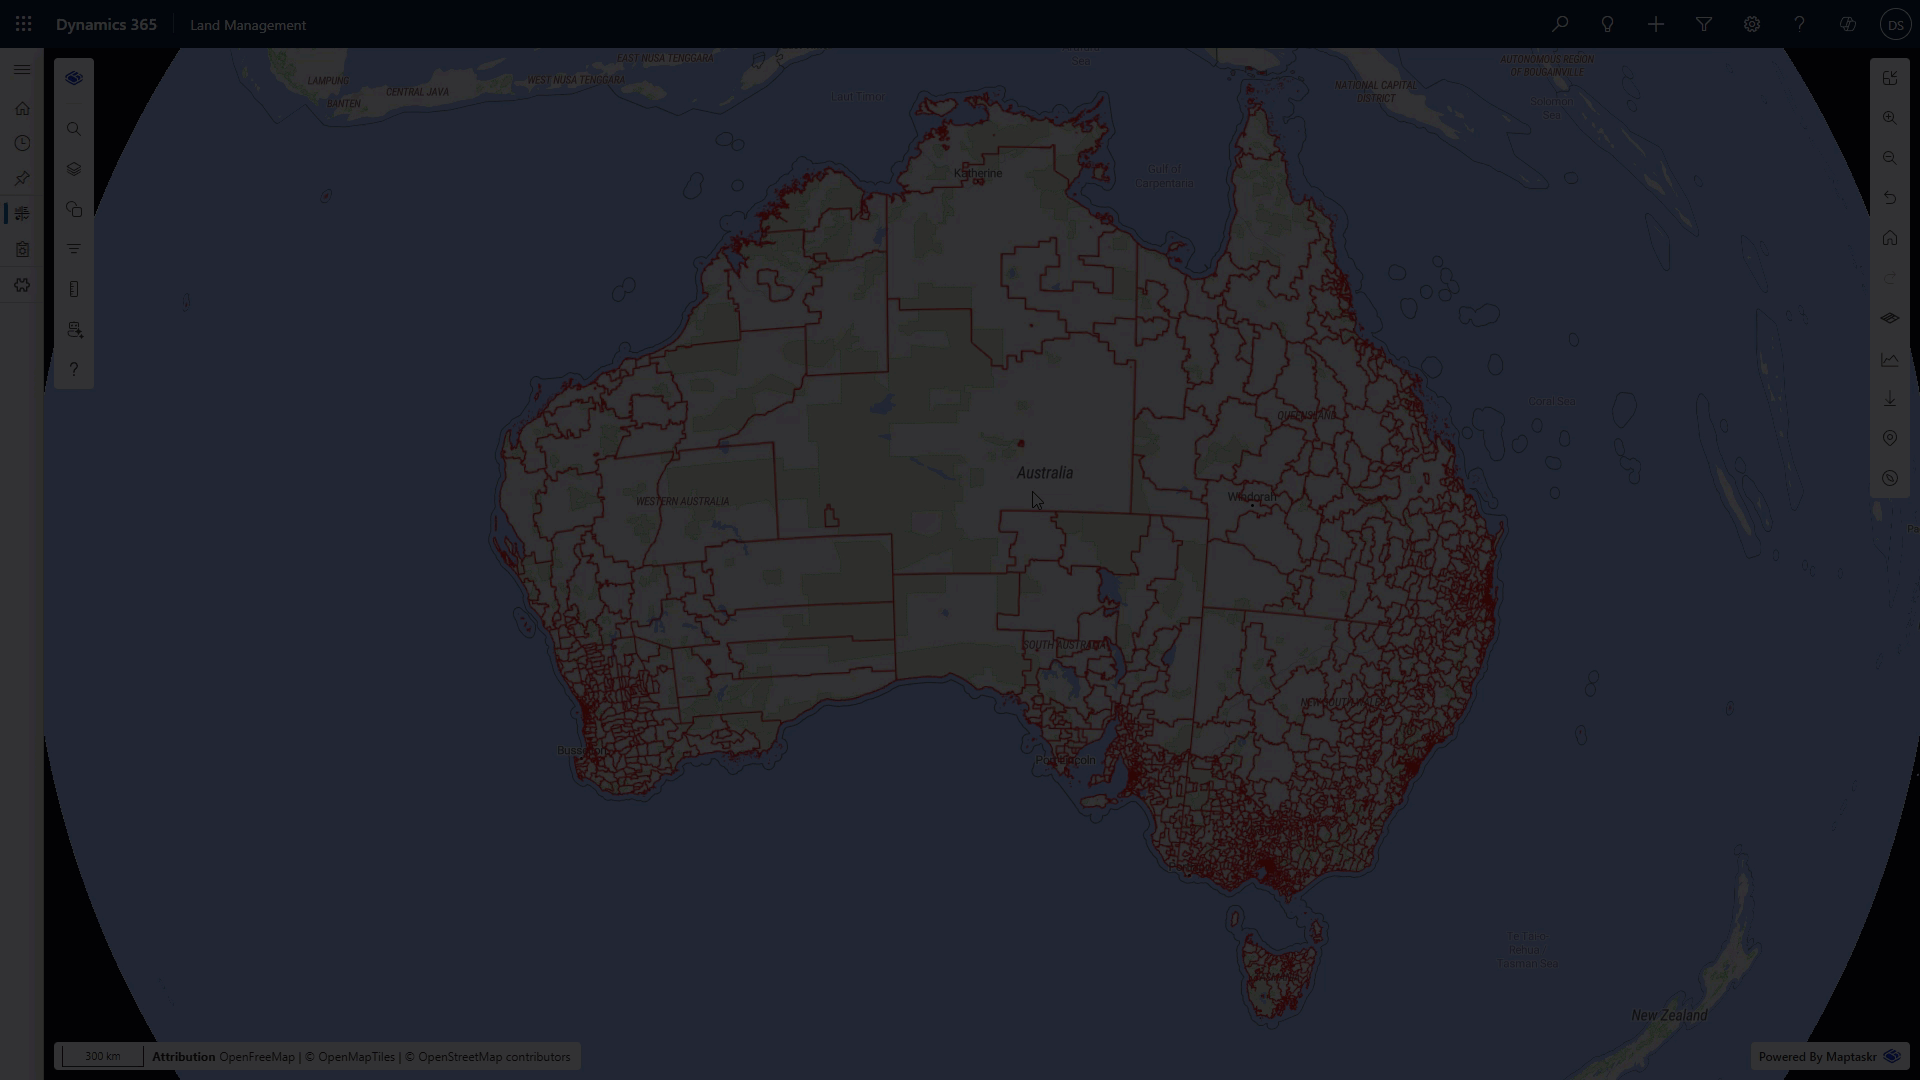
Use Case Context: Territories by Postcode
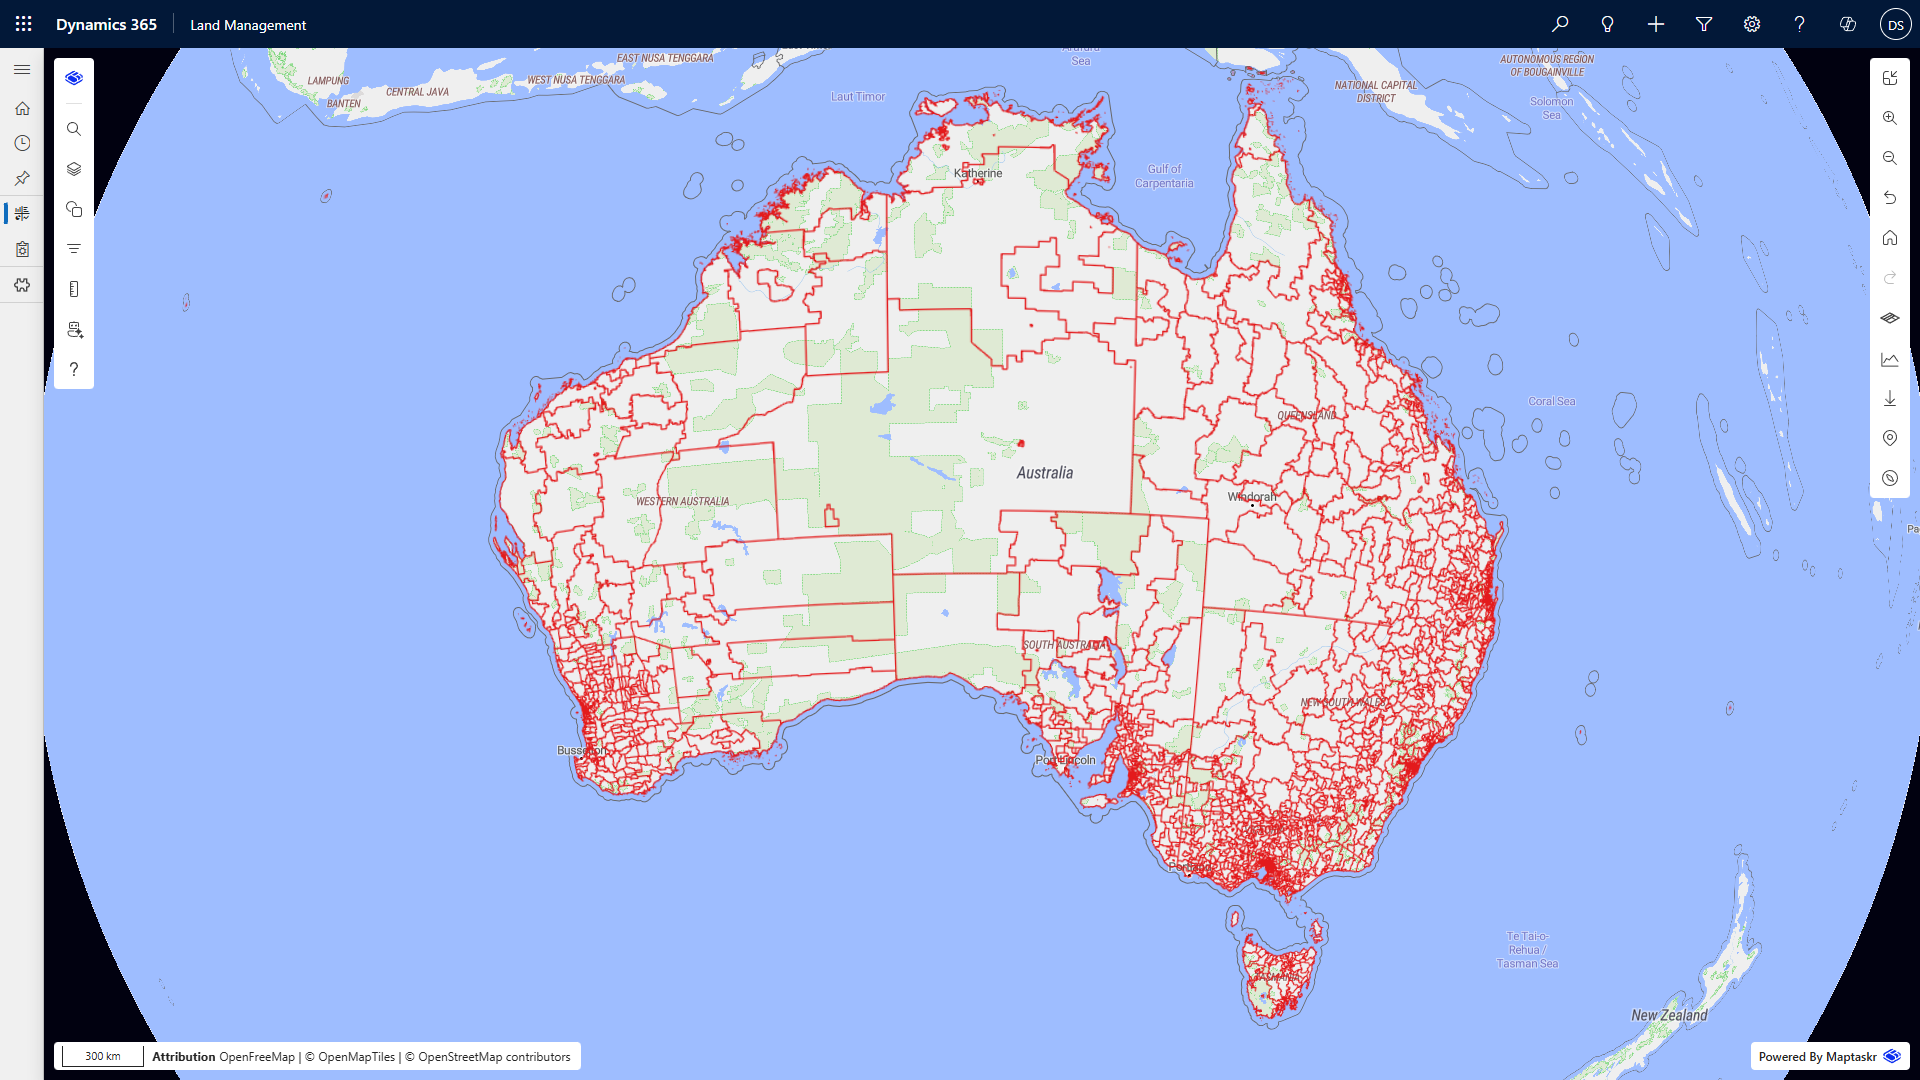
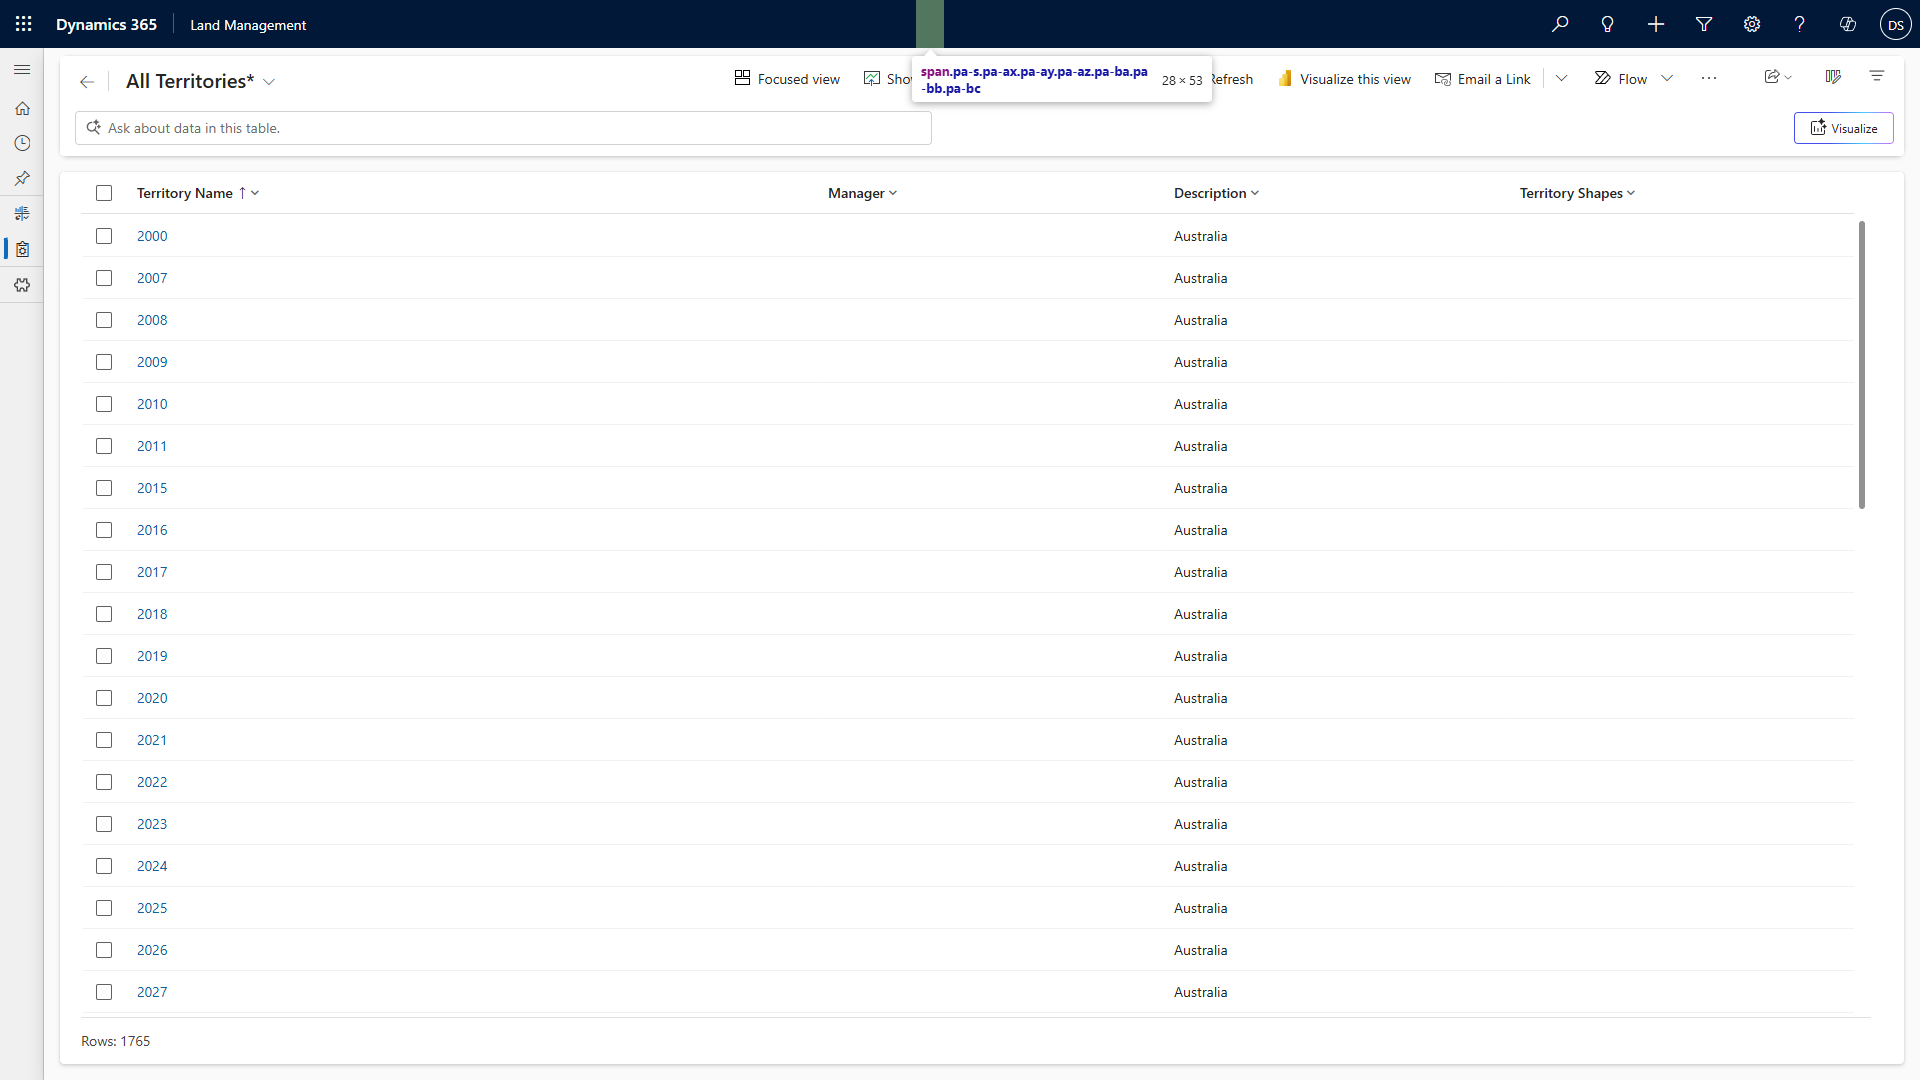
In this tutorial, we’ll use the example of managing sales territories by postcode. The ArcGIS layer contains Australian Postal Areas (POAs), each representing a postcode region. Your Dataverse table, called Territories, stores business records for each territory, with a title field that matches the postcode in the ArcGIS layer. This setup allows you to visually select a postcode region on the map and instantly view or edit the related territory record in Dataverse. If no record exists for a selected postcode, you’ll have the option to create one.
Prerequisites
Before you begin, make sure you have completed the following steps:
-
Added an ArcGIS layer in the Layer Gallery.
If you haven’t done this yet, follow the Adding a Layer guide to connect your ArcGIS data. -
Established a relationship between your ArcGIS layer and Dataverse table.
For this tutorial, ensure there is a common field between the two datasets. For example, the ArcGIS layer’spostcodefield should match the Dataverse table’stitlefield. This allows you to link map features to Dataverse records.
By the end of this tutorial, you’ll be able to:
- Display and interact with ArcGIS geometry on your map.
- Select features and trigger the “Edit Territory” action.
- Open and edit/create Dataverse records directly related to the selected map feature, or create a new record if none exists.
This Tutorial's Setup
For this tutorial, your environment should be configured as follows:
ArcGIS Layer Added:
You have already added an ArcGIS layer to your map using the Layer Gallery. This layer contains geometry features, such as polygons or points, representing locations or entities relevant to your business. In this example, I am using a publicly available layer called Australian Postal Areas (POAs), where postcodes are used as territories.
Dataverse Table Available:
You have a Dataverse table that stores entity records you want to link to your map features. This table includes a field (e.g., title) that can be matched to a field in your ArcGIS layer (e.g., postcode). In this example, I have a Dataverse table called Territories, which has no geometry or latitude/longitude, but does have a related field called title.
Field Relationship Established:
There is a direct relationship between the ArcGIS layer and the Dataverse table, based on a shared field value. For example, each feature’s postcode in the ArcGIS layer matches the title field in the Dataverse table, allowing you to associate map features with Dataverse records.
This setup ensures that when you select a geometry feature on the map and use the “Edit Territory” action, the correct Dataverse record will open for editing.
Open a Dynamics Record via an ArcGIS Feature
-
Make sure you have completed all prerequisites above.
-
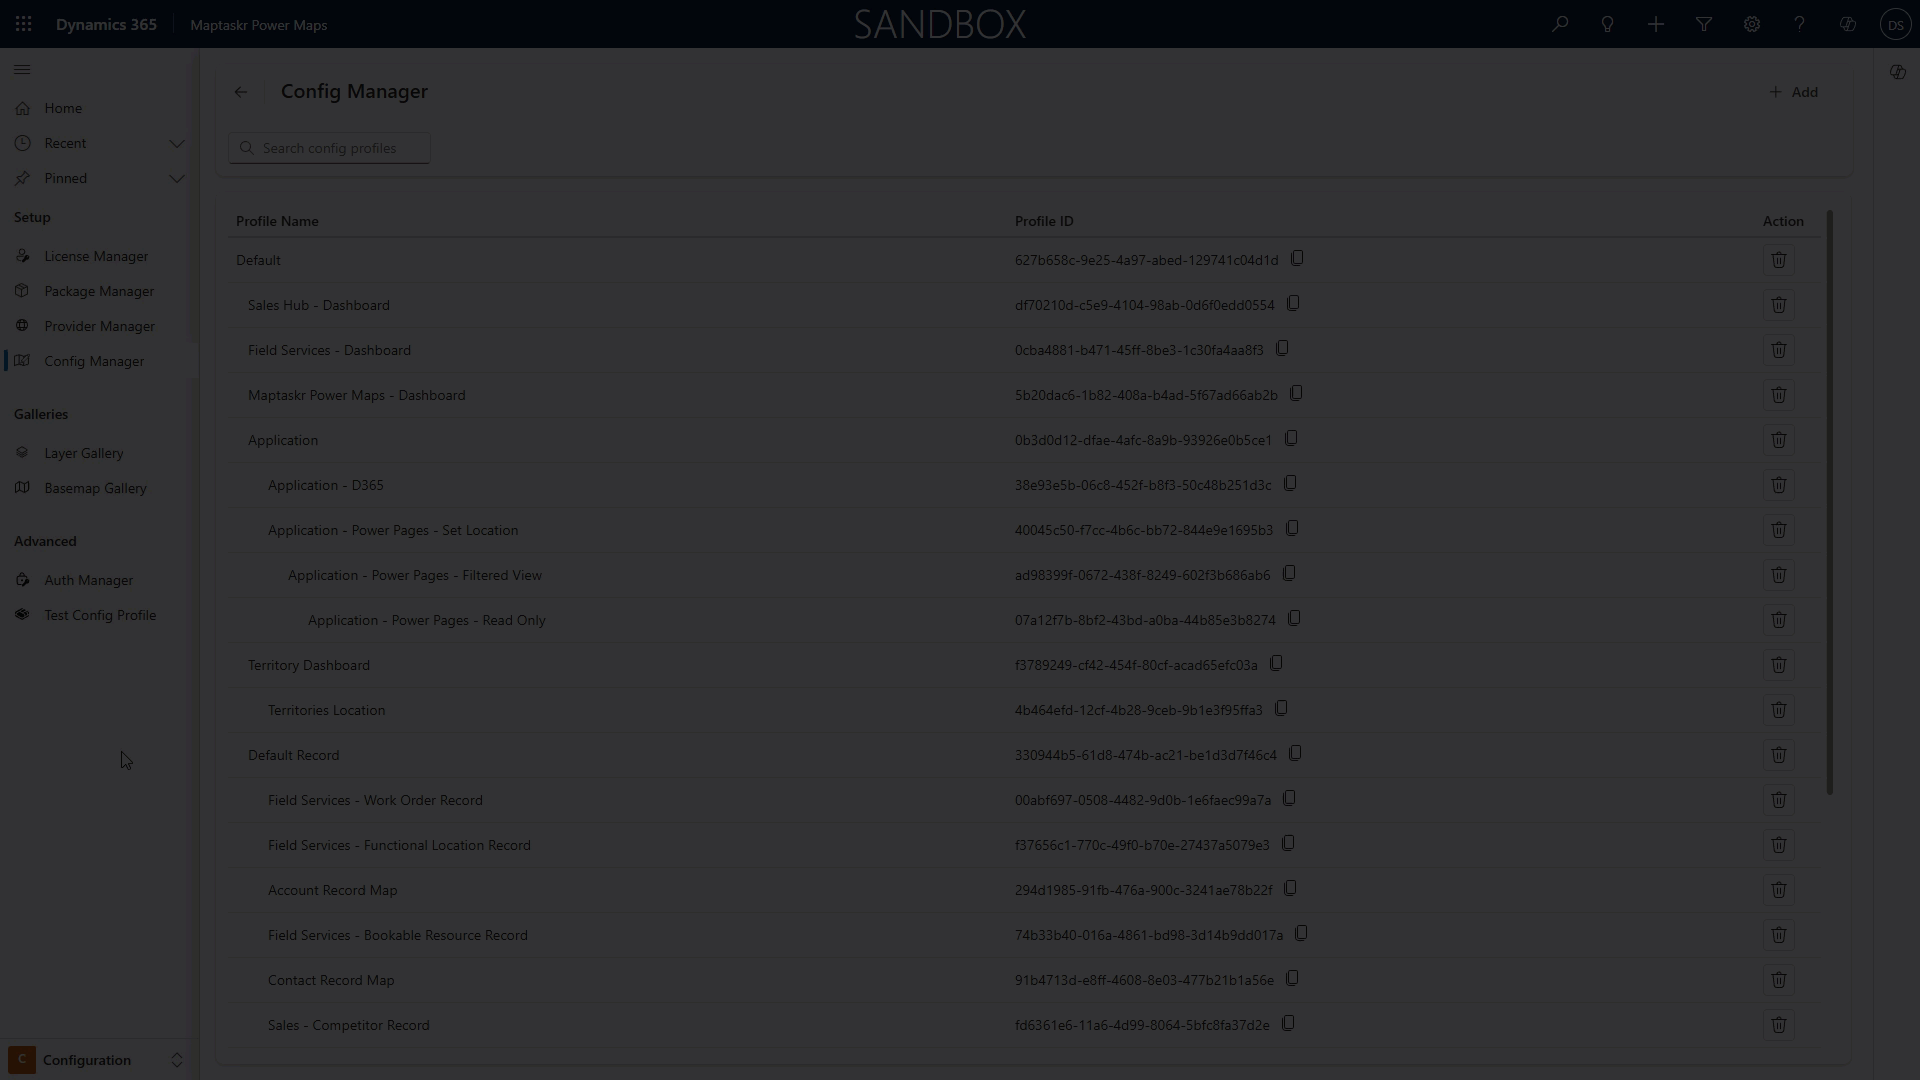
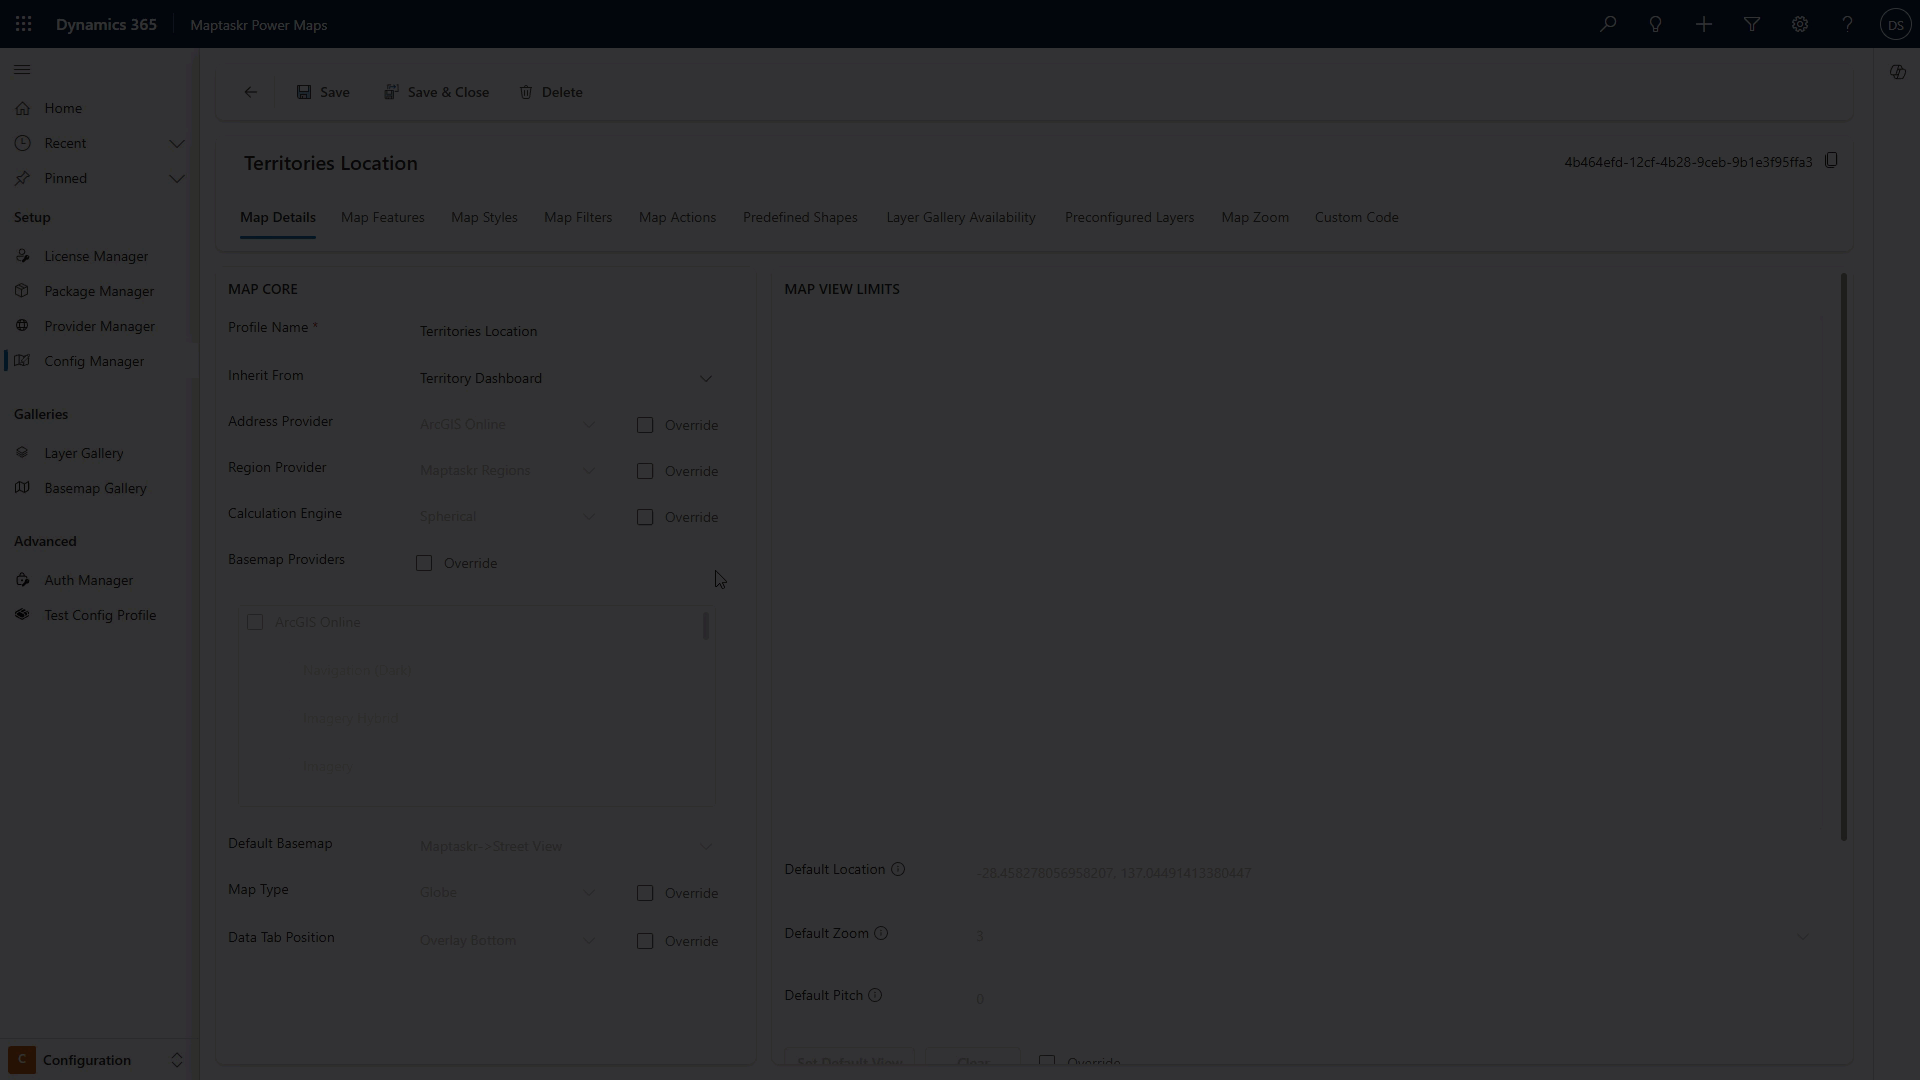
Create a new profile, or select an existing one, to display your ArcGIS layer at the dashboard level. (Learn more)
-
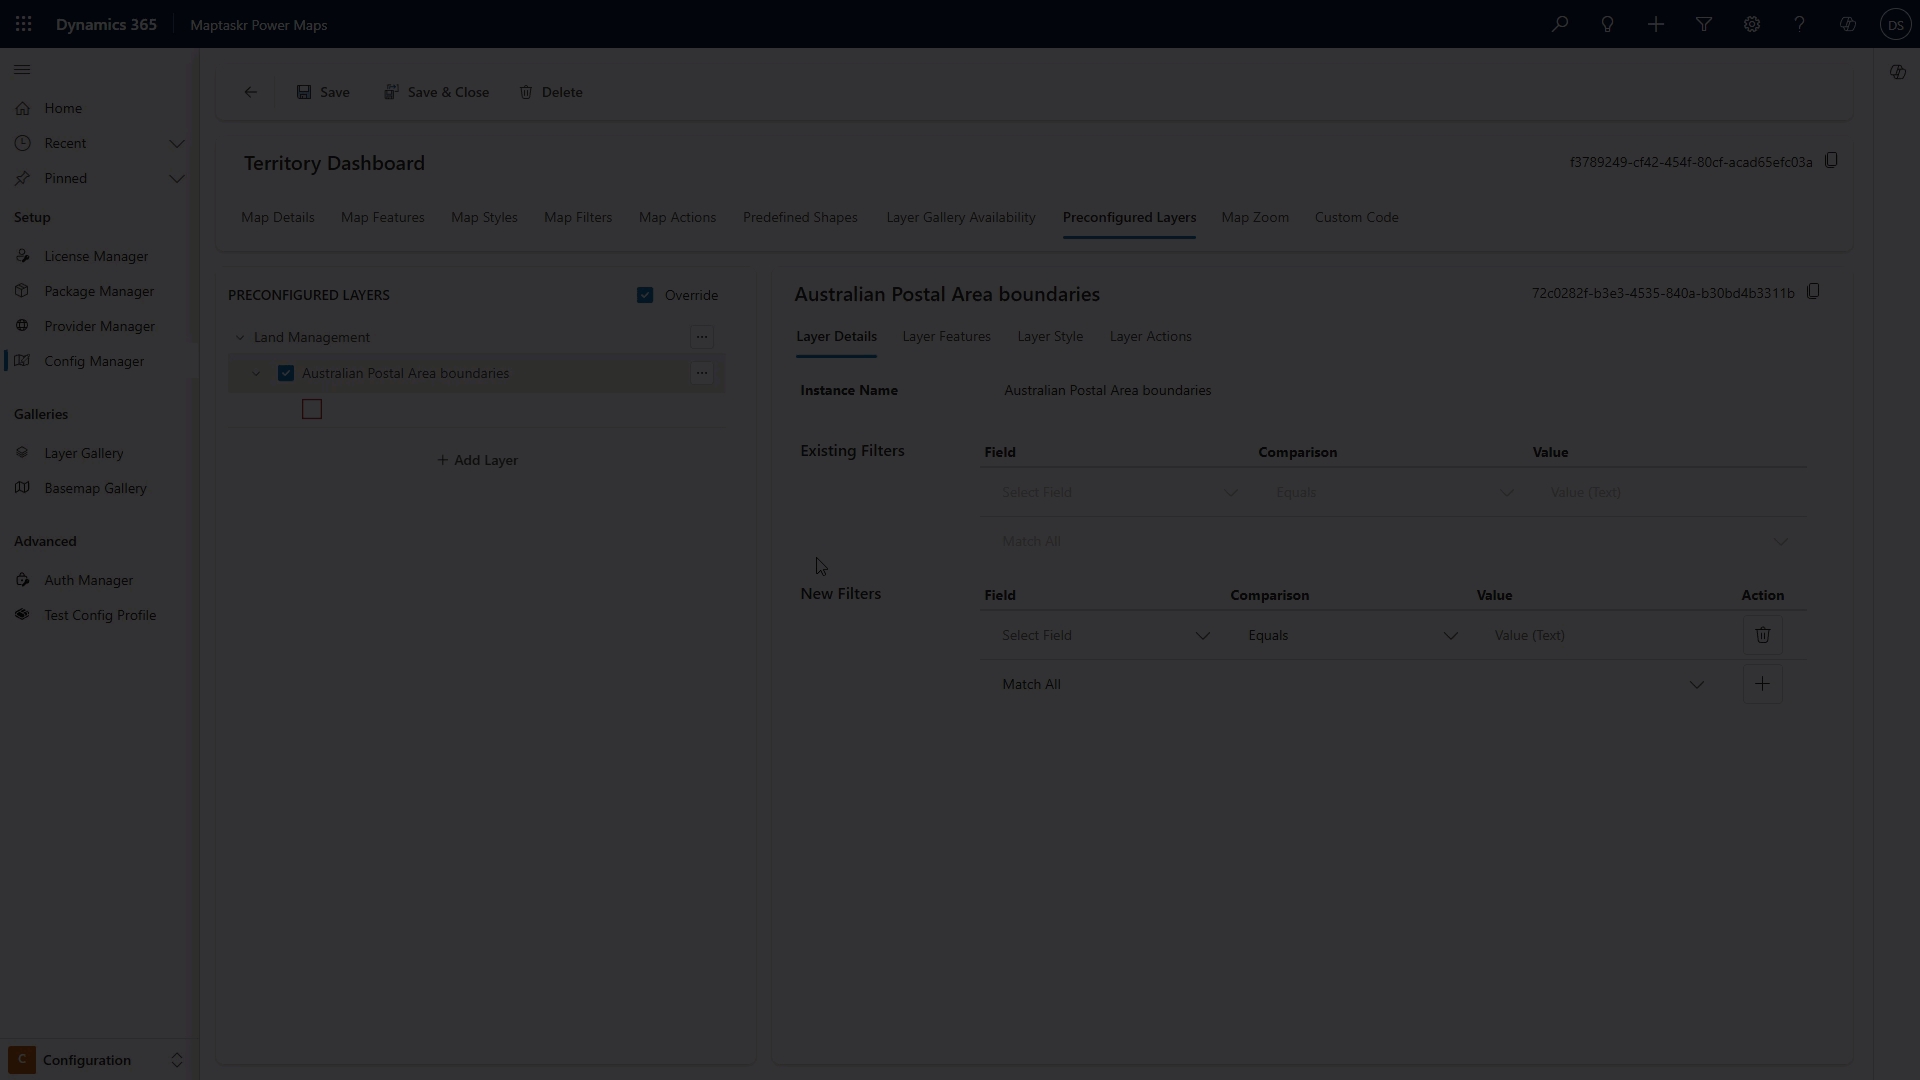
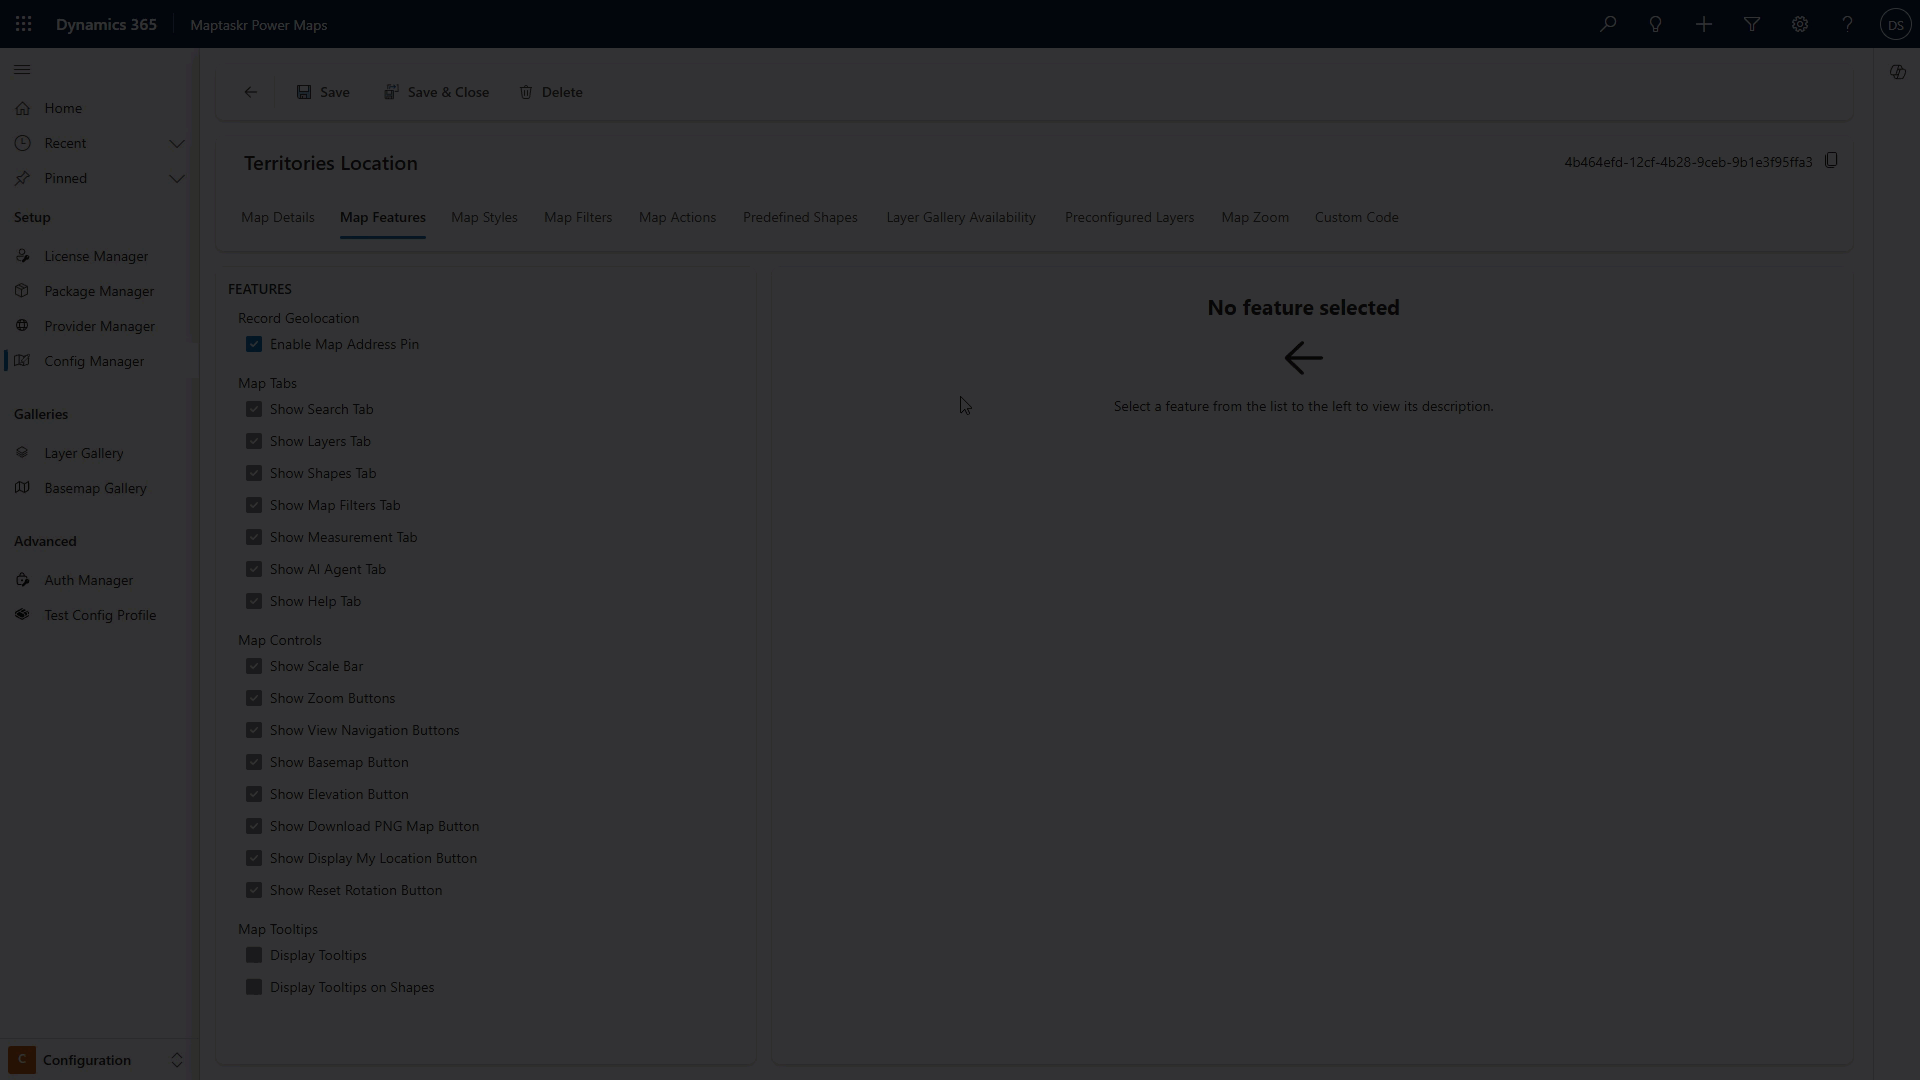
In your profile, go to the Preloaded Layers tab.
-
Click Add Layer and select your newly added postcode layer from the gallery (make sure you have added it to your Map Layers).
-
Select the layer, then open the Layer Actions tab.
-
Under New Single Record Actions, click Add Action.
-
Configure the view action as follows:
- Action type:
OpenD365Modal - Action Name:
View Territory(or any name that suits your use case) - Icon Picker:
ContentView(or any icon you prefer) - entityName:
territory - entityId:
{{LOOKUP('{{poa_code_2021}}','territory','name','territoryid')}}
For details on advanced lookups, see Advanced Lookups. - formPosition:
Center(optional) - Enable Show action only when condition is met
- Field:
poa_code_2021(the field in the ArcGIS layer containing the postcode) - Comparison:
Equals - Value:
{{LOOKUP('{{poa_code_2021}}','territory','name','name')}}(This lookup checks for a matching Dataverse record before the action button is displayed. If a record exists, the View button will be displayed; if not, the button will be hidden.)
- Field:
- Action type:
-
Configure the new action as follows:
- Action type:
OpenD365Modal - Action Name:
New Territory(or any name that suits your use case) - Icon Picker:
ContentView(or any icon you prefer) - entityName:
territory - entityId:
{{LOOKUP('{{poa_code_2021}}','territory','name','territoryid')}}
For details on advanced lookups, see Advanced Lookups. - formPosition:
Center(optional) - Enable Show action only when condition is met
- Field:
poa_code_2021(the field in the ArcGIS layer containing the postcode) - Comparison:
Not Equals - Value:
{{LOOKUP('{{poa_code_2021}}','territory','name','name')}}(This lookup checks for a matching Dataverse record before the action button is displayed. If no record exists, the New button will be displayed, allowing you to create a new territory.)
- Field:
- Action type:
-
Click Save Action, then save your profile configuration.
-
Test your setup: Find where your dashboard-level map profile is used, or add your new profile to a PCF control on a dashboard. (Learn more)
Visualise the Geometry of an ArcGIS Feature in a Dynamics Record
-
Make sure you have completed all prerequisites above.
-
Create a new profile, or select an existing one, to display your ArcGIS layer at the record level. (Learn more)
noteYou will need a different profile for the record level, as we will be applying a map filter that should not be present at the dashboard level.
-
In your profile, go to the Preloaded Layers tab.
-
Click Add Layer and select your newly added postcode layer from the gallery (make sure you have added it to your Map Layers).
-
Once the layer is added, click on the Map Filters tab.
-
Configure the filter as follows:
- Filter Type:
layer - Buffer Distance:
1(or any value that fits your use case) - Distance Unit:
meters - Selected Layer:
Australian Postal Areas (POAs) - Condition:
- Field:
poa_code_2021(the field in the ArcGIS layer containing the postcode) - Comparison:
Equals - Value:
{{name}}(the field in the Dataverse record to compare)
- Field:
infoThe filter condition ensures that only the specific feature related to the current record is displayed.
- Filter Type:
-
Click Save Filter, then save your profile configuration.
-
For an improved user experience, where the map will zoom to the related feature, navigate to the Map Zoom tab.
-
Click Override if not already enabled.
-
Toggle on Layer Extent and select the layer used as the filter (in this example, Australian Postal Areas (POAs)).
-
Set the timeout to 0 (this means it will keep waiting to zoom until the layer is available).
-
Save your profile configuration.
- Test your setup: Find where your record-level map profile is used, or add your new profile to a PCF control on a dashboard. (Learn more)