Add a map to a Dashboard
Dashboard maps shine when you want to aggregate records and give operators a spatial snapshot without drilling into individual forms. Use this guide when you need a rollup view (for example, open work orders, live assets, or region-level KPIs) on a standard model-driven dashboard.
Prerequisites
- A published Maptaskr configuration profile with the layers you want to expose. Learn more
- Access to edit the target dashboard in make.powerapps.com.
- The
MaptaskrPowerGridPCF control installed in your environment (deployed automatically with Maptaskr Power Maps solution).
Add the map component
-
Go to make.powerapps.com.
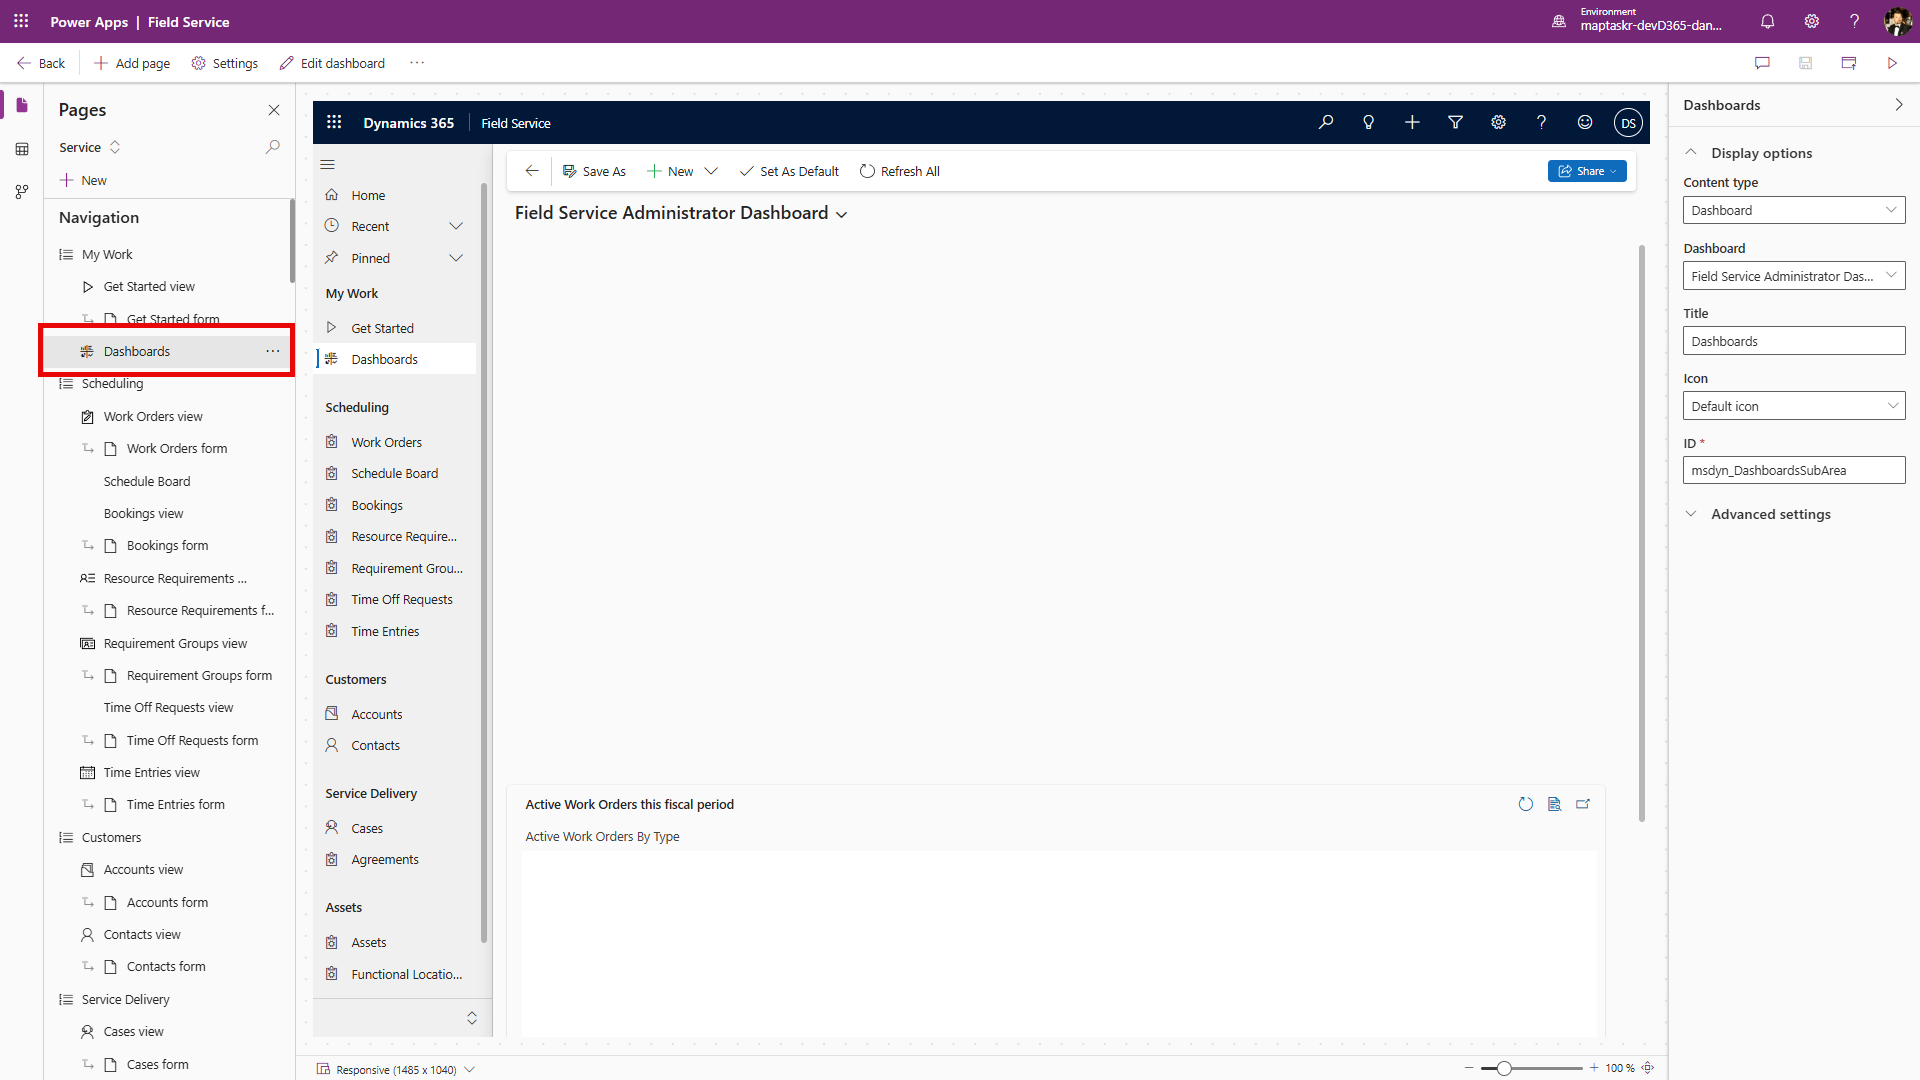
-
Open the dashboard you want to edit and choose the pencil icon to enter edit mode.
-
Select List as the component type.
-
Choose record type
Maptaskr Core Configsand keep theActive Maptaskr Core Configsview. -
Click Add.
-
Select the newly added component and choose Edit Component.
-
Under Controls, select Add Control.
-
Find
MaptaskrPowerGridand select it. -
Choose Add.
-
Assign web, phone, and tablet to the new control so the dashboard renders the map on every client.
-
Configure the map parameters:
| Field | Description |
|---|---|
| Is Control Full Screen | Turn on for a dedicated dashboard pane. |
| Profile ID | Paste the ID from the Configuration Manager. Where do I get this id? |
| Parameters (optional) | Filter provider responses for the scenario. |
| Design Width & Height | Set explicit dimensions when not fullscreen. |
For advanced usage to dynamically load profiles please refer to Dynamic Profile IDs
-
Select Add to confirm the control settings.
-
Save and Close the dashboard designer.
-
Choose Save and Publish so the dashboard rolls out to users.
Next steps
- Share the dashboard with relevant security roles so they can see the map column.
- Adjust filters and views in
Maptaskr Core Configsto curate which configurations appear on the dashboard.