Add a map to a Canvas App
The Maptaskr Power Maps Canvas PCF control lets users display and interact with map data directly in Canvas apps. You can add it to new or existing apps, and an out-of-the-box demo Canvas app is also available with record-level, dashboard-level, and address examples.
Setting up Maptaskr Power Maps in Canvas apps includes a few important steps. In this guide, you will:
-
Configure an Azure Application with access to dataverse.
-
Configure the authentication flow.
-
Attach that flow to the Canvas app.
-
Configure variables and trigger the flow when the app loads.
-
Enable and add the PCF control.
-
Insert the map and configure its properties.
Configure an Azure Application
To allow the Maptaskr Power Maps Canvas control to communicate correctly with your Dynamics environment using user impersonation, you must grant API access to your Dataverse instance through an app registration with specific requirements.
You can skip this step if you already have an app registration with API access to your target CRM with the user_impersonation permission configured as Delegated. Skip
-
Navigate to your Azure Portal.
-
Open the Azure service App registrations.
-
Select New registration.
-
Enter a name for your app.
-
Select supported account types. For this example, select Single tenant only.
-
Leave the Redirect URI field blank if you're not configuring it now. It's optional and not required for Maptaskr.
-
Once complete, open API permissions from the left navigation panel under Manage.
-
Select Add a permission.
-
From the list of Microsoft APIs, select Dynamics CRM.
-
By default, the permission type is set to Delegated permissions. Leave this as is.
-
Under Select Permissions, check the user_impersonation box and leave all other permissions unchecked.
If you don't see user_impersonation, look under Other permissions.
- Select Add permissions.
Keep this app registration open. You'll need the credentials from it in the next section.
-
Navigate to Power Platform Admin Center
-
Select Manage in the left navigation
-
Select Environments
-
Open the detailed view of your environment you are working in
-
Select S2S Apps in the Access panel
-
Select New app user in the to left of the page
-
In the left panel do the following
-
Select Add an app then search and select the app you just configured in azure
-
Select a Business unit, in our example we are just using the default business unit
-
Select the pencil icon against the Security Roles input. Add your required security roles plus Power Maps Users
Recommending security roles that work reliably across different client environments can be challenging, especially given the wide range of customer configurations and implementations.
Assigning System Administrator is the easiest way to ensure users can perform all actions in a Canvas app. However, this usually does not align with security governance policies.
Our recommended approach is to define the exact CRUD permissions users need for their Canvas app scenarios, then assign those permissions through your custom role(s) together with Power Maps User.
- Select Create.
Configuring the Authentication Flow
Maptaskr Power Maps requires a configured authentication flow for users to access APIs in your environment. This flow is included in the Maptaskr Power Maps solution.
-
Navigate to make.powerapps.com.
-
Select Solutions from the left main navigation.
-
Select the Managed filter tab.
-
Open Maptaskr Power Maps.
-
Open the Objects navigation item.
-
Select Cloud flows from the object navigation item.
-
Open and Edit the flow called PowerMapsCanvasAuthFlow.
-
In this flow, configure the four variables below. Make sure to replace everything in the value field, including the
{{}}:Variable Name Location TenantID Microsoft Entra admin center → Overview → Tenant ID ClientID Microsoft Entra admin center → App registrations → your app → Overview → Application (client) ID ClientSecret Microsoft Entra admin center → App registrations → your app → Certificates & secrets → New client secret (copy Value when created) EnvironmentUrl Power Platform admin center or make.powerapps.com → Environments → select environment → Environment URL (Dataverse org URL)
Make sure these values match the environment where your Canvas app runs. Incorrect values can prevent token generation.
- Once configured, Save the flow.
Attaching the Flow to the Canvas App
-
Open your Canvas app.
-
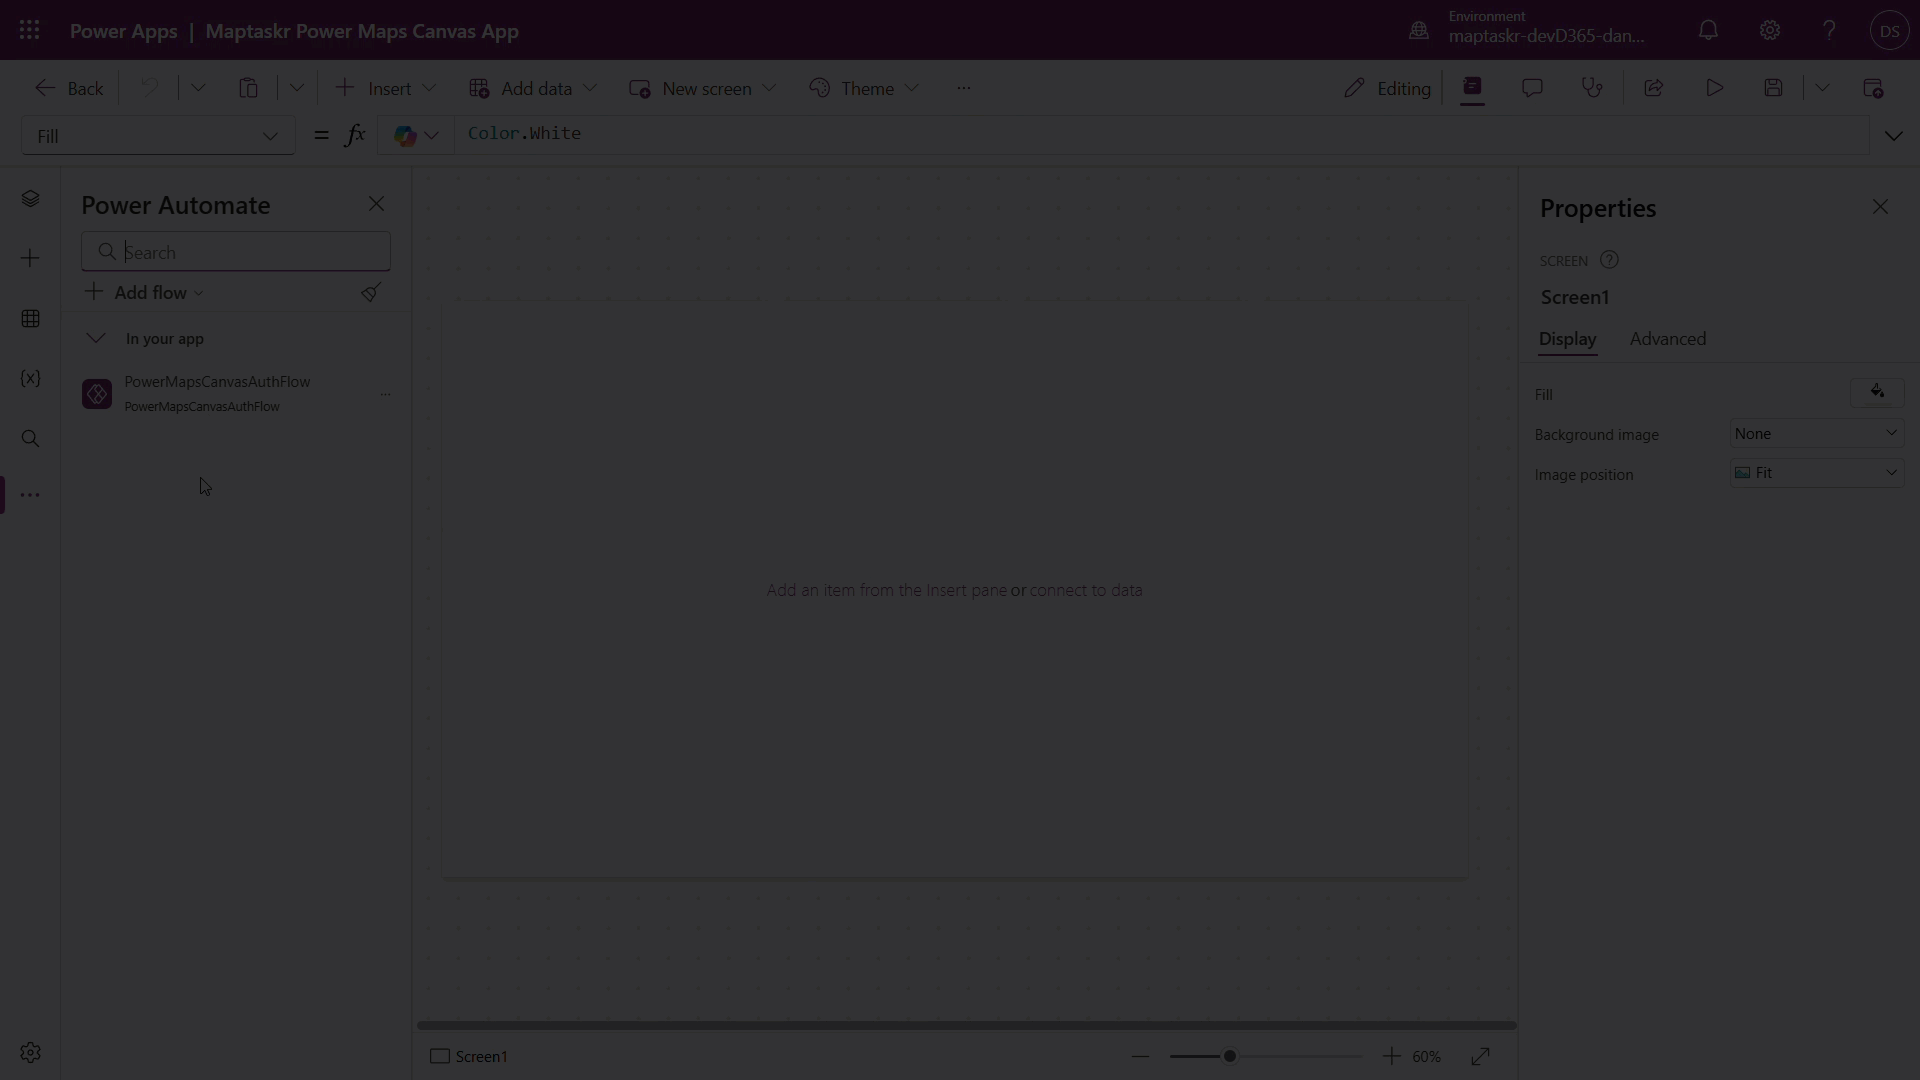
In the left navigation, select the three dots on the first level, then select Power Automate.
-
In the Power Automate flow panel, select Add Flow.
-
Search for and select PowerMapsCanvasAuthFlow (the flow you just configured). It appears under the instant flow category.
Configuring Variables and Triggering the Flow on App Load
-
Assuming your Canvas app is still open, open the Tree View panel.
-
Select App and make sure the properties panel is open on the right.
-
Select Advanced from the list of tabs.
-
In the OnStart input field, paste the following Power Fx. This triggers the flow on the next reload (or if you manually start the app from the Tree View) and populates variables required for the next step.
Set(PowerMapsCanvasAuthVariable, PowerMapsCanvasAuthFlow.Run()) && Set(saveMap, 0) && Set(refreshMap, 0) -
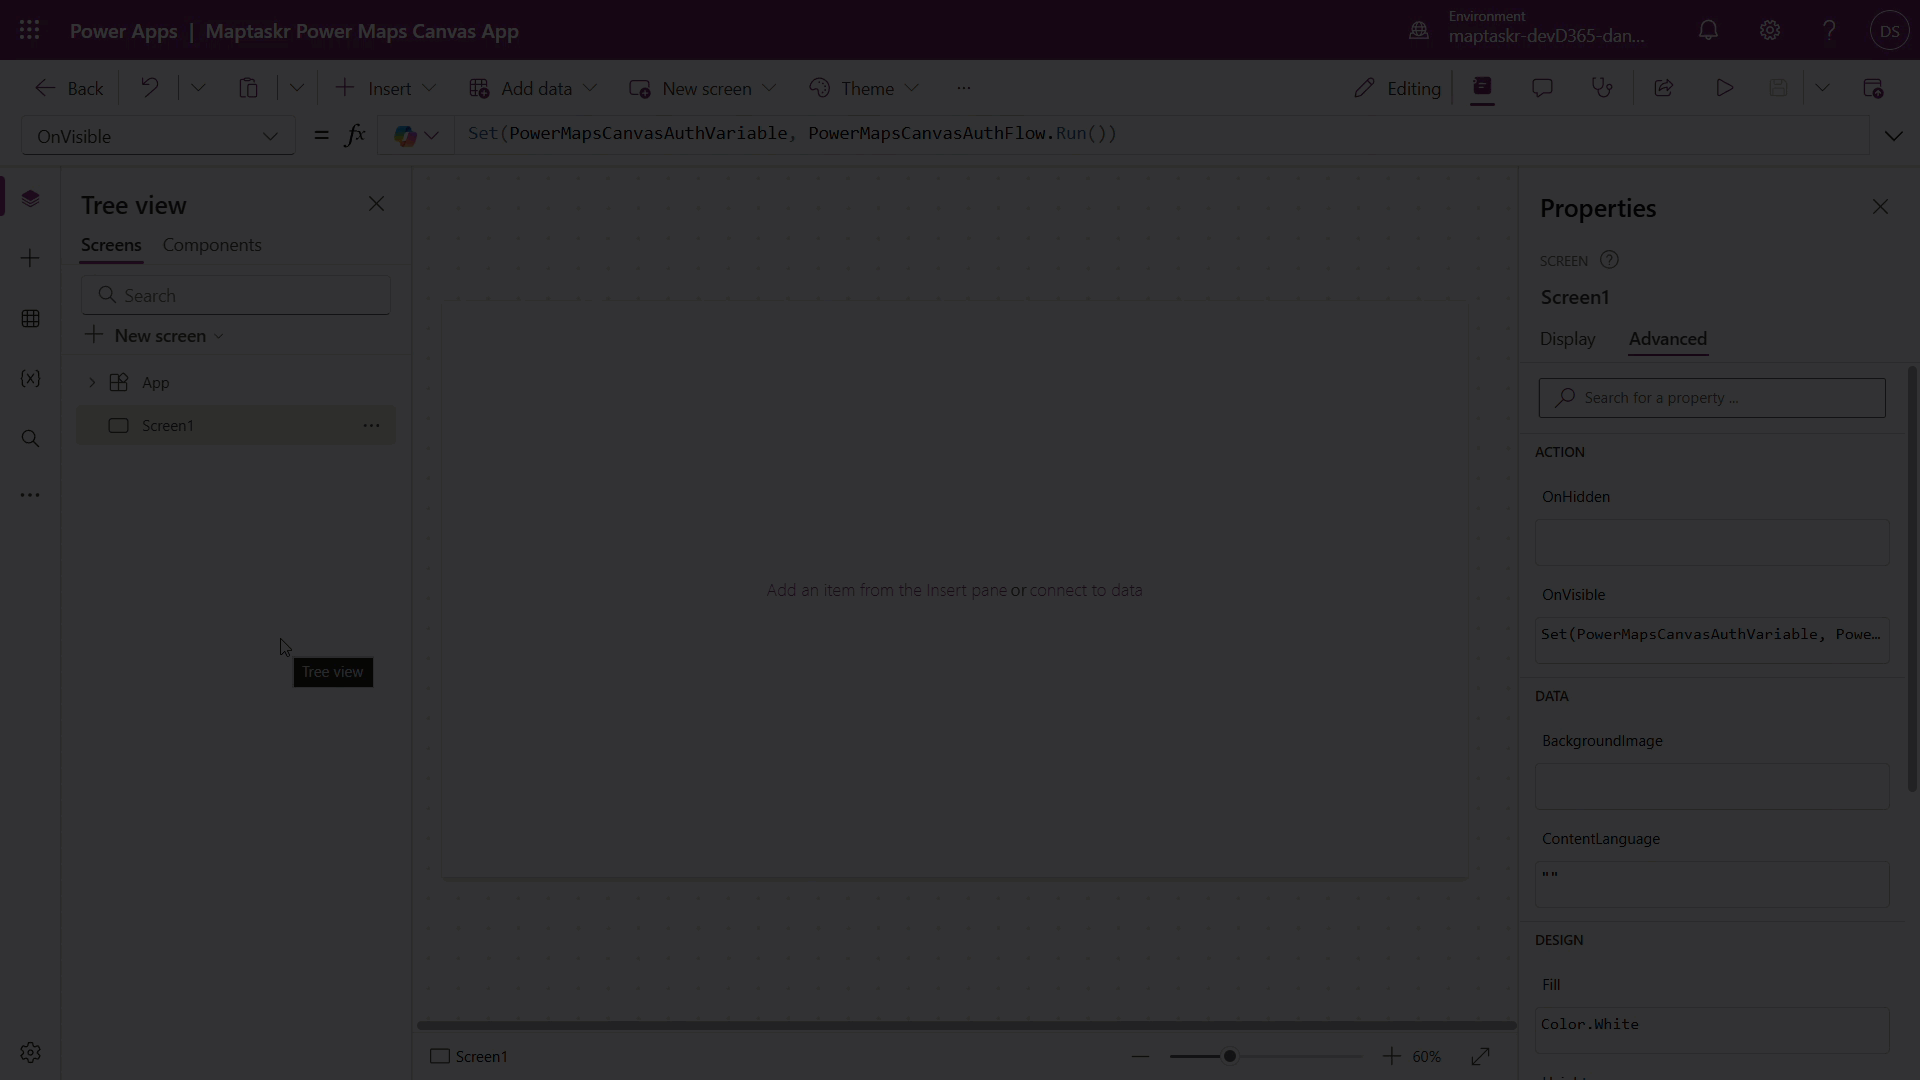
Go back to Tree View and this time select Screen (or whatever you named the screen where the map is loaded). Make sure the properties panel is open on the right.
-
Select Advanced from the list of tabs.
-
In the OnVisible input field, paste the following Power Fx. This triggers the flow when the page opens and populates the required variables.
Set(PowerMapsCanvasAuthVariable, PowerMapsCanvasAuthFlow.Run()) -
Save your progress.
Enabling the PCF Control
-
Select Insert from the navigation.
-
Select the Get more components icon.
-
Select the Code tab in the left-side panel.
-
Search for and select MaptaskrPowerCanvas, then click Import.
-
You should now see a Code Components insert option with the Maptaskr control available.
Insert the Map and Configure Its Properties
-
Click or drag your new Maptaskr Power Maps Canvas control onto your page. You may be prompted to select a data source. Close that pop-up and ignore it for now.
-
Make sure the properties panel is open and the Maptaskr control is selected.
- Dashboard Canvas Map
- Record Canvas Map
Dashboard Canvas Map
- Select the Advanced tab and configure the properties in the left panel as shown below.
Property Name Required Value ACTION OnAuthTokenExpiring Yes Set(PowerMapsCanvasAuthVariable, PowerMapsCanvasAuthFlow.Run()) DATA OnAuthTokenExpiring Yes PowerMapsCanvasAuthVariable.expires_in currentEntityFieldName No Name of the entity table e.g. account currentEntityId No ID of the record you are targeting in the entity currentEntityName No Name of the field where you want to save shapes, e.g. mtrcore_account_shapes authToken Yes PowerMapsCanvasAuthVariable.access_token profileid Yes ID of the Config Profile taken from the config manager in the Maptaskr Power Maps App refresh No Leave blank save Yes 0 targetEnvironmentUrl Yes PowerMapsCanvasAuthVariable.environment_url targetUserEmail Yes User().Email
Any property not listed in this table is either optional or not required for the Maptaskr Power Maps Canvas control.
Record Canvas Map
When configuring a record-level map, the two main reasons for doing so are to save drawn shapes and use record attributes for filtering.
- Select the Advanced tab and configure the properties in the left panel as shown below.
Property Name Required Value ACTION OnAuthTokenExpiring Yes Set(PowerMapsCanvasAuthVariable, PowerMapsCanvasAuthFlow.Run()) DATA OnAuthTokenExpiring Yes PowerMapsCanvasAuthVariable.expires_in authToken Yes PowerMapsCanvasAuthVariable.access_token currentEntityFieldName No Name of the entity table e.g. account currentEntityId No ID of the record you are targeting in the entity currentEntityName No Name of the field where you want to save shapes, e.g. mtrcore_account_shapes profileid Yes ID of the Config Profile taken from the config manager in the Maptaskr Power Maps App refresh Yes refreshMapsave Yes saveMaptargetEnvironmentUrl Yes PowerMapsCanvasAuthVariable.environment_url targetUserEmail Yes User().Email
Any property not listed in this table is either optional or not required for the Maptaskr Power Maps Canvas control.
- Select Save to keep your progress.
Testing
Once you complete the steps above and save, you may not see an immediate response from the map. The flow must run before it can populate the configured variables. To trigger this, either refresh the page or open the Tree View panel, select the three dots next to App, and then select Run OnStart. This runs the flow and initializes the map.
Limitations
System Administrator privileges are not honoured Canvas apps do not respect System Administrator privileges. Records are created using the app registration's service account on behalf of the logged-in user. Ensure permissions are configured appropriately for your users and thoroughly test your implementation to confirm that records are created and assigned to the correct users.
OAuth authentication opens a new window Some map layers require OAuth authentication through your Dynamics 365 environment. When this occurs, users will see a new browser window open to complete the login flow. This is expected behaviour.
Authentication tokens expire during use Microsoft access tokens have a maximum lifetime of 30 minutes. Because of this, the authentication flow must remain accessible and active throughout a Canvas app session, as tokens will likely need to be refreshed while the app is in use.
Address fields must use standard field names
For address search, latitude/longitude lookups, and address pins to work correctly, address fields must use the standard Dataverse field names. For example, use address1_latitude rather than a custom binding such as txtAddress1Lat.