Power Pages Accelerator
Maptaskr Power Maps can be embedded directly into Microsoft Power Pages portals - bringing rich, interactive maps into customer-facing sites such as self-service portals, community maps, or industry-specific applications.
The Power Pages Solution Accelerator provides the fastest way to see Maptaskr in action inside a portal. With a single install, it provisions a working site preconfigured with maps, providers, profiles, and sample data where appropriate - so you can immediately experience Maptaskr in a live web environment.
This makes it ideal for:
- Trials and evaluations (for potential customers exploring Maptaskr)
- Demos and proofs-of-concept (for partners showcasing scenarios)
- Learning environments (for administrators wanting to understand portal setup)
While accelerators are ideal for rapid setup, keep in mind that production Power Pages portals may require bespoke configuration to match your organisation’s data model, branding, and security requirements. In those cases, you’ll want to follow the Manual Configuration path.
Prerequisites
- Core Package Installed – The Baseline (Core) Package seeds the required tables, basemaps, and service providers that the accelerator depends on.
- Valid License – Your environment must be registered and licensed, with your Power Pages site URL added.
- Permissions – You need System Administrator (or equivalent) rights in Dataverse and Power Pages.
These configurations are mandatory prerequisites. If they’re not in place, the accelerator install may fail or leave your portal incomplete. For more background, see Activation.
Install the Power Pages Accelerator
The Power Pages Accelerator provisions a new site with Maptaskr components already configured — maps, providers, and profiles — so you can get hands-on with minimal setup. Installation typically takes around 10 minutes, depending on your environment performance.
1. Install from Package Manager
-
Open the Maptaskr Power Maps app → Configuration → Package Manager.
-
Select Power Pages Solution Accelerator and click Install.
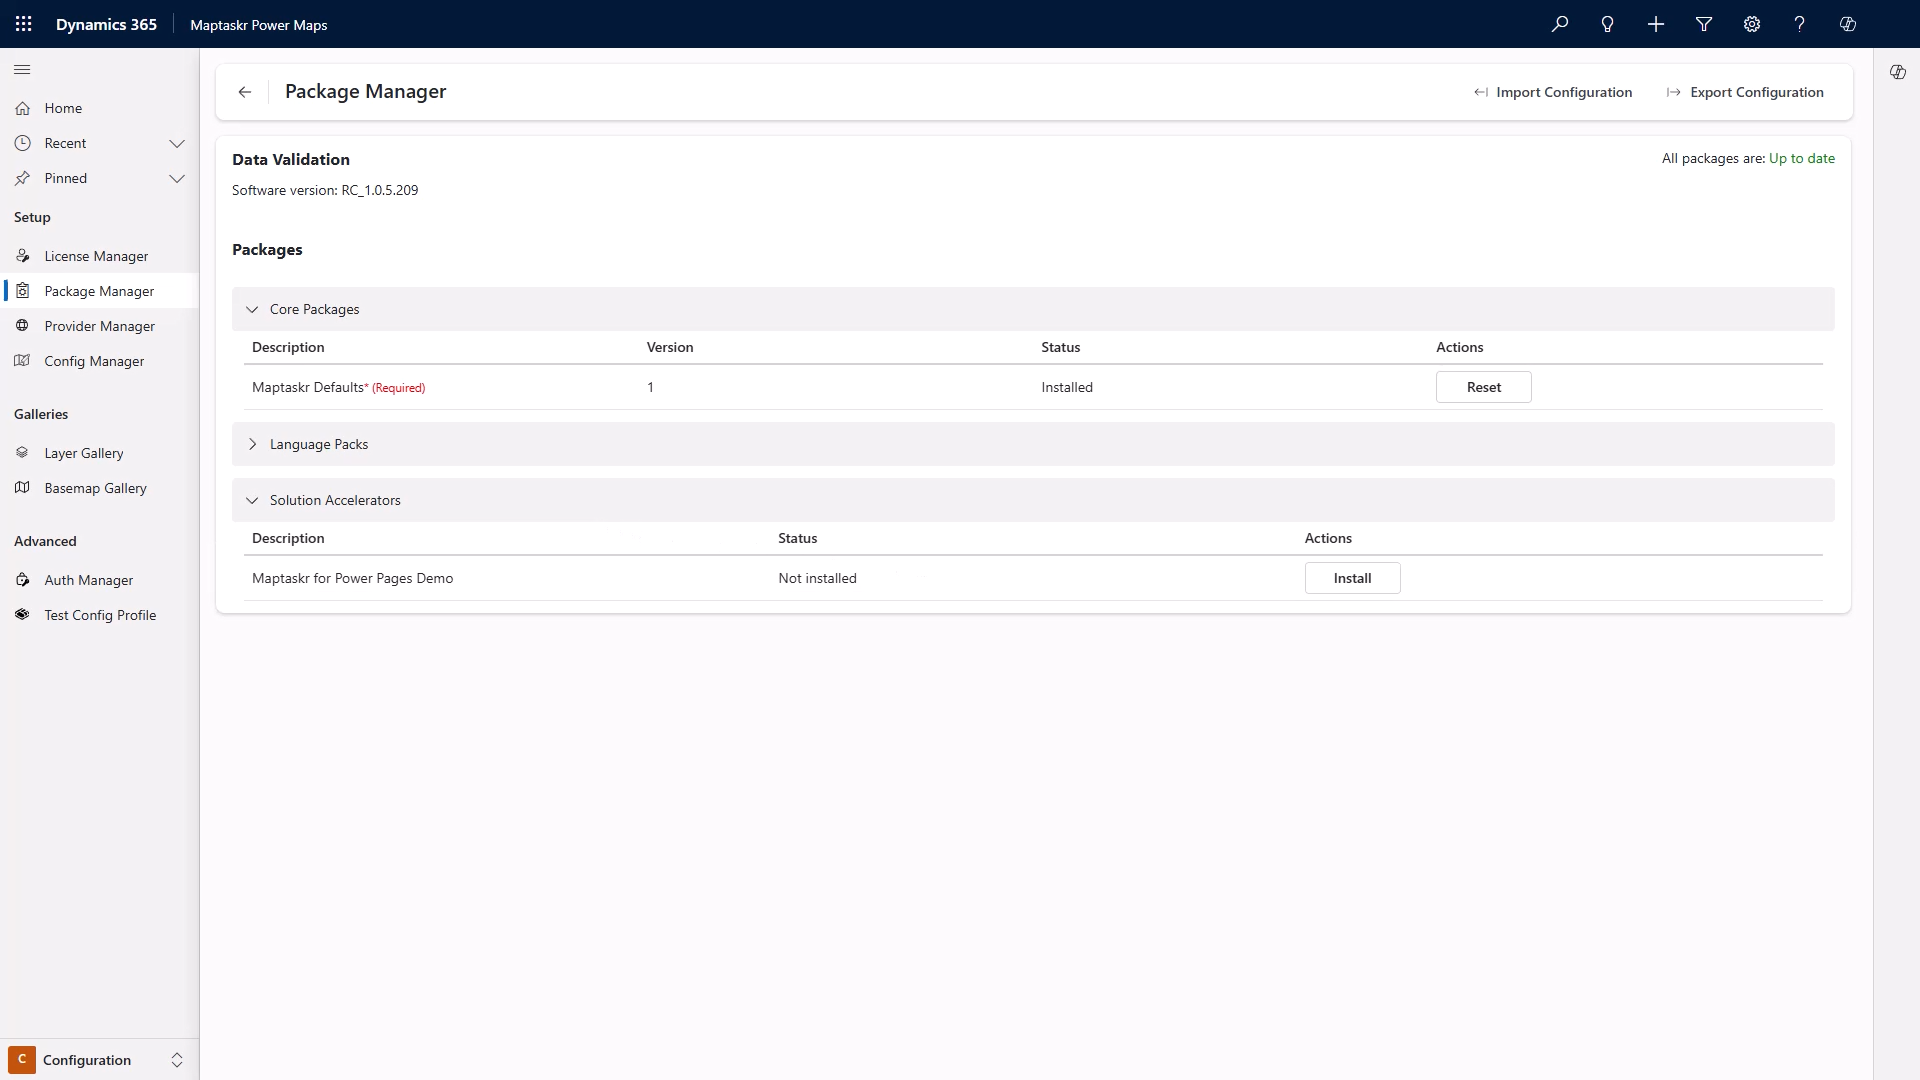
For more detail, see the Package Manager Overview.
2. Activate the Site
-
Locate the newly created site and click Activate.
-
Copy the site’s URL.
3. Register the Site URL
-
In the Maptaskr Power Maps app, open License Manager.
-
Add your site URL under Licensed URLs and Save changes to apply licensing.
For more details, see Supported URLs in License Manager.
4. (Optional) Make the Site Public
If you need anonymous access:
-
Open Power Pages Management and review Table Permissions.
-
Grant the Web API User (Anonymous) the minimum required access (e.g., Accounts/Contacts or other entities you intend to expose).
-
Save changes.
When enabling anonymous access, expose only the fields and tables required. Always validate permissions align with your organisation’s security policies.
5. Sync and Test
-
Sync the Power Pages site.
-
Open the published site URL.
-
Verify that maps load correctly and that data visibility matches your permission model (licensed URLs + table permissions).
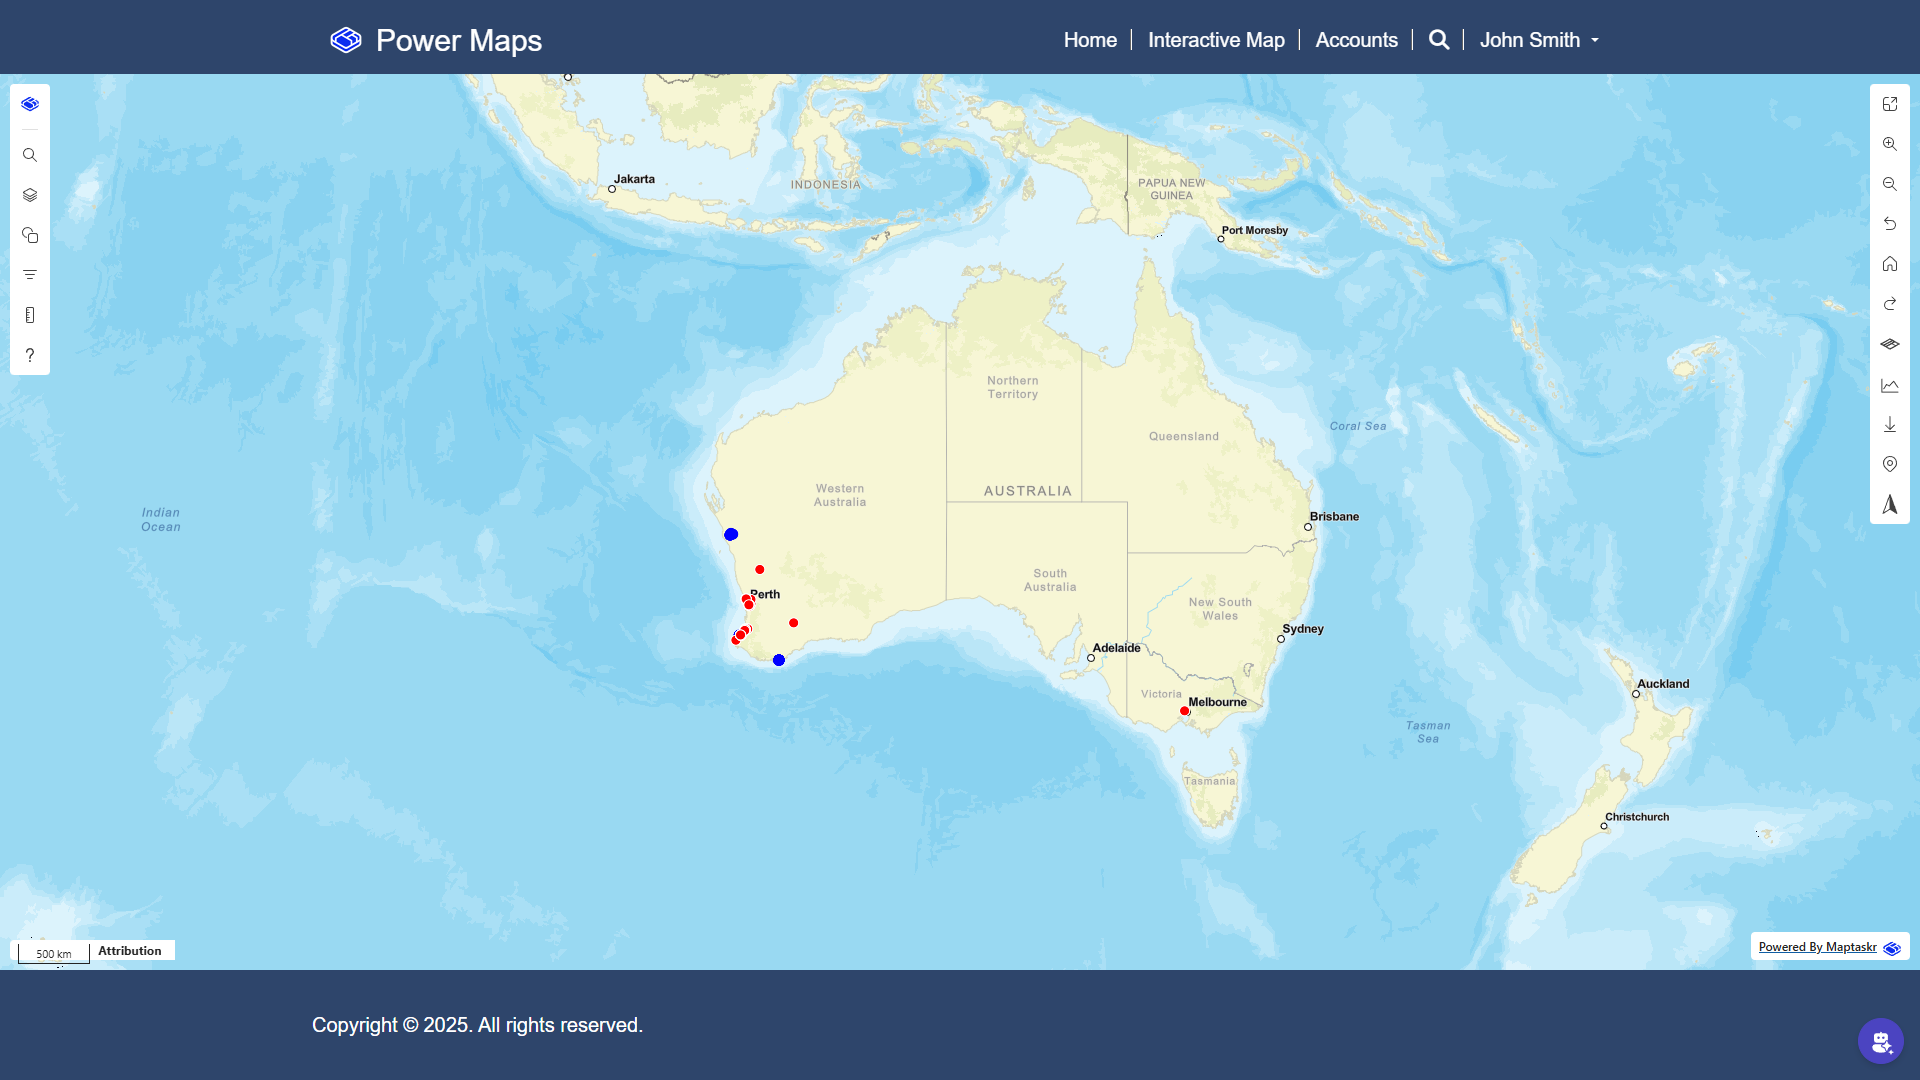
At this point, your Power Pages site should be fully provisioned with Maptaskr Power Maps enabled.
You now have a working portal with interactive maps embedded and licensed, ready to explore.